fbpx Skip to main content

Perfect Fitting Binding Everytime

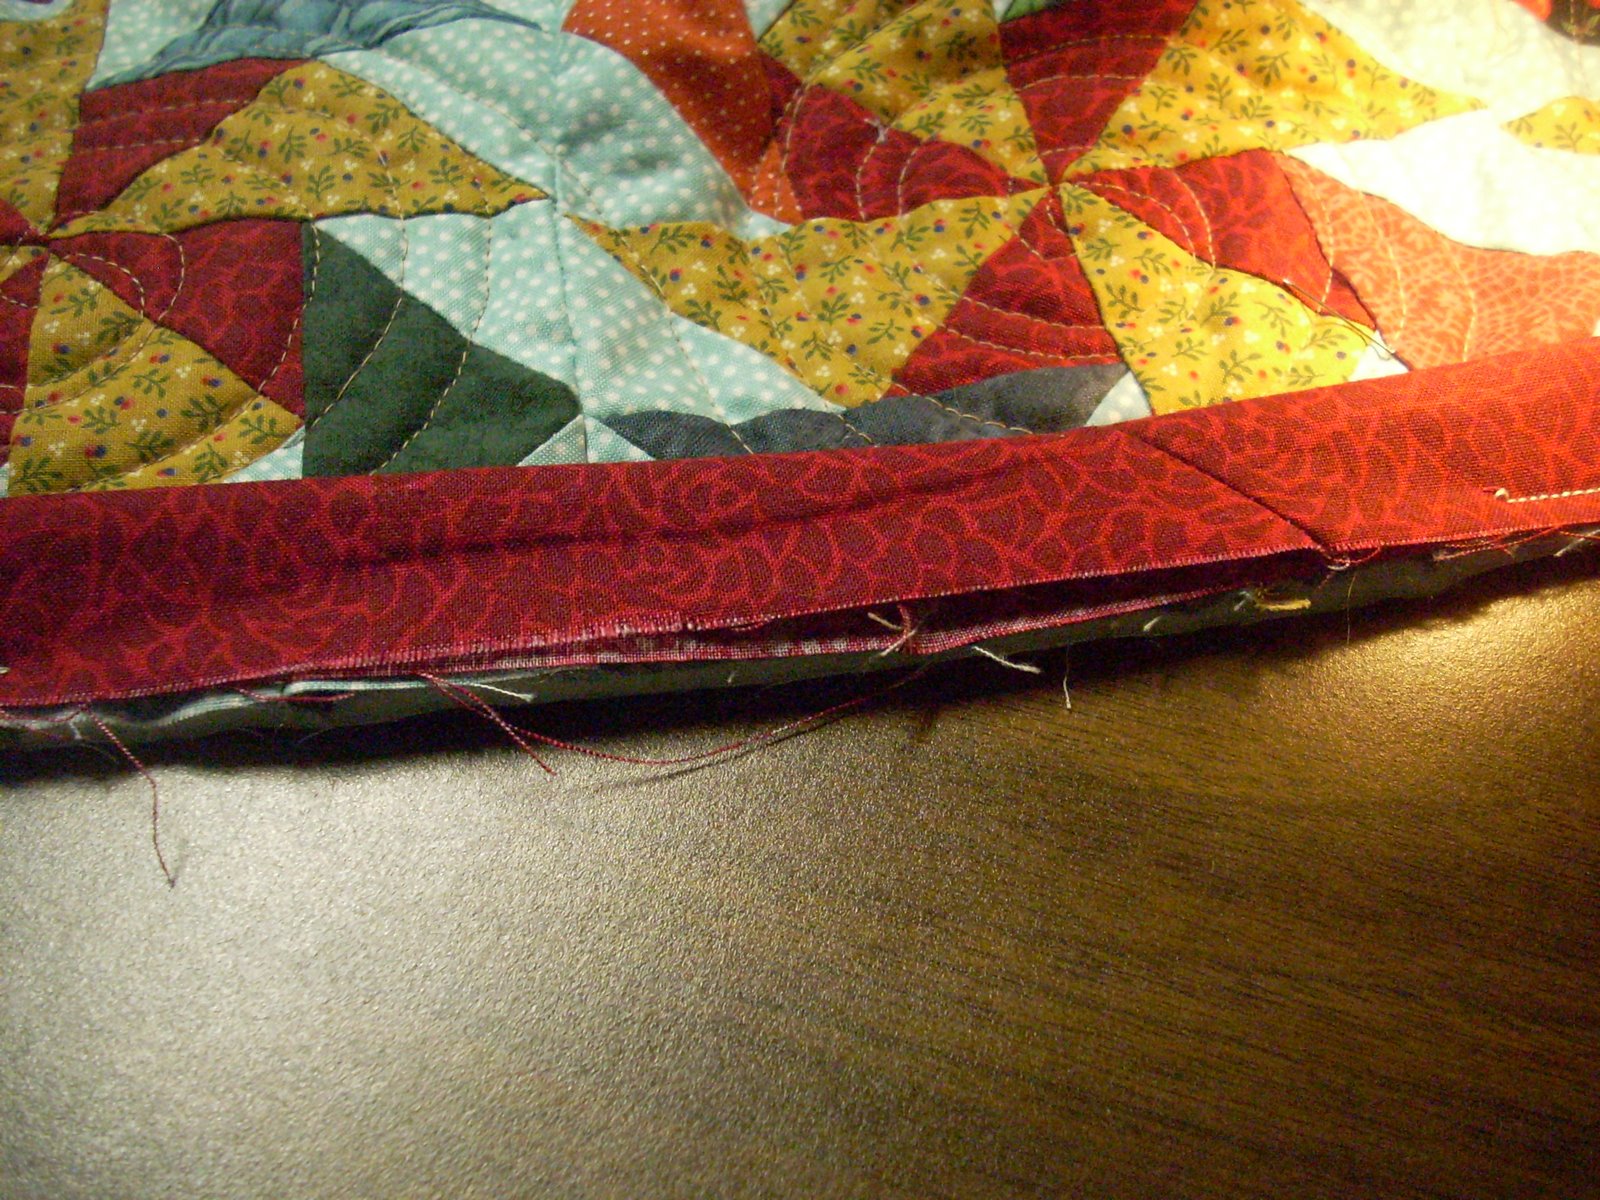
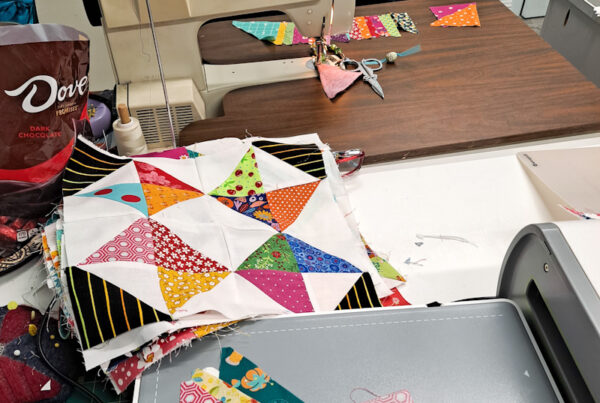
Leaving a 6″ tail begin sewing binding on. Continue sewing binding around quilt. Leave a 10-12″ gap between the beginning of the binding and the end.

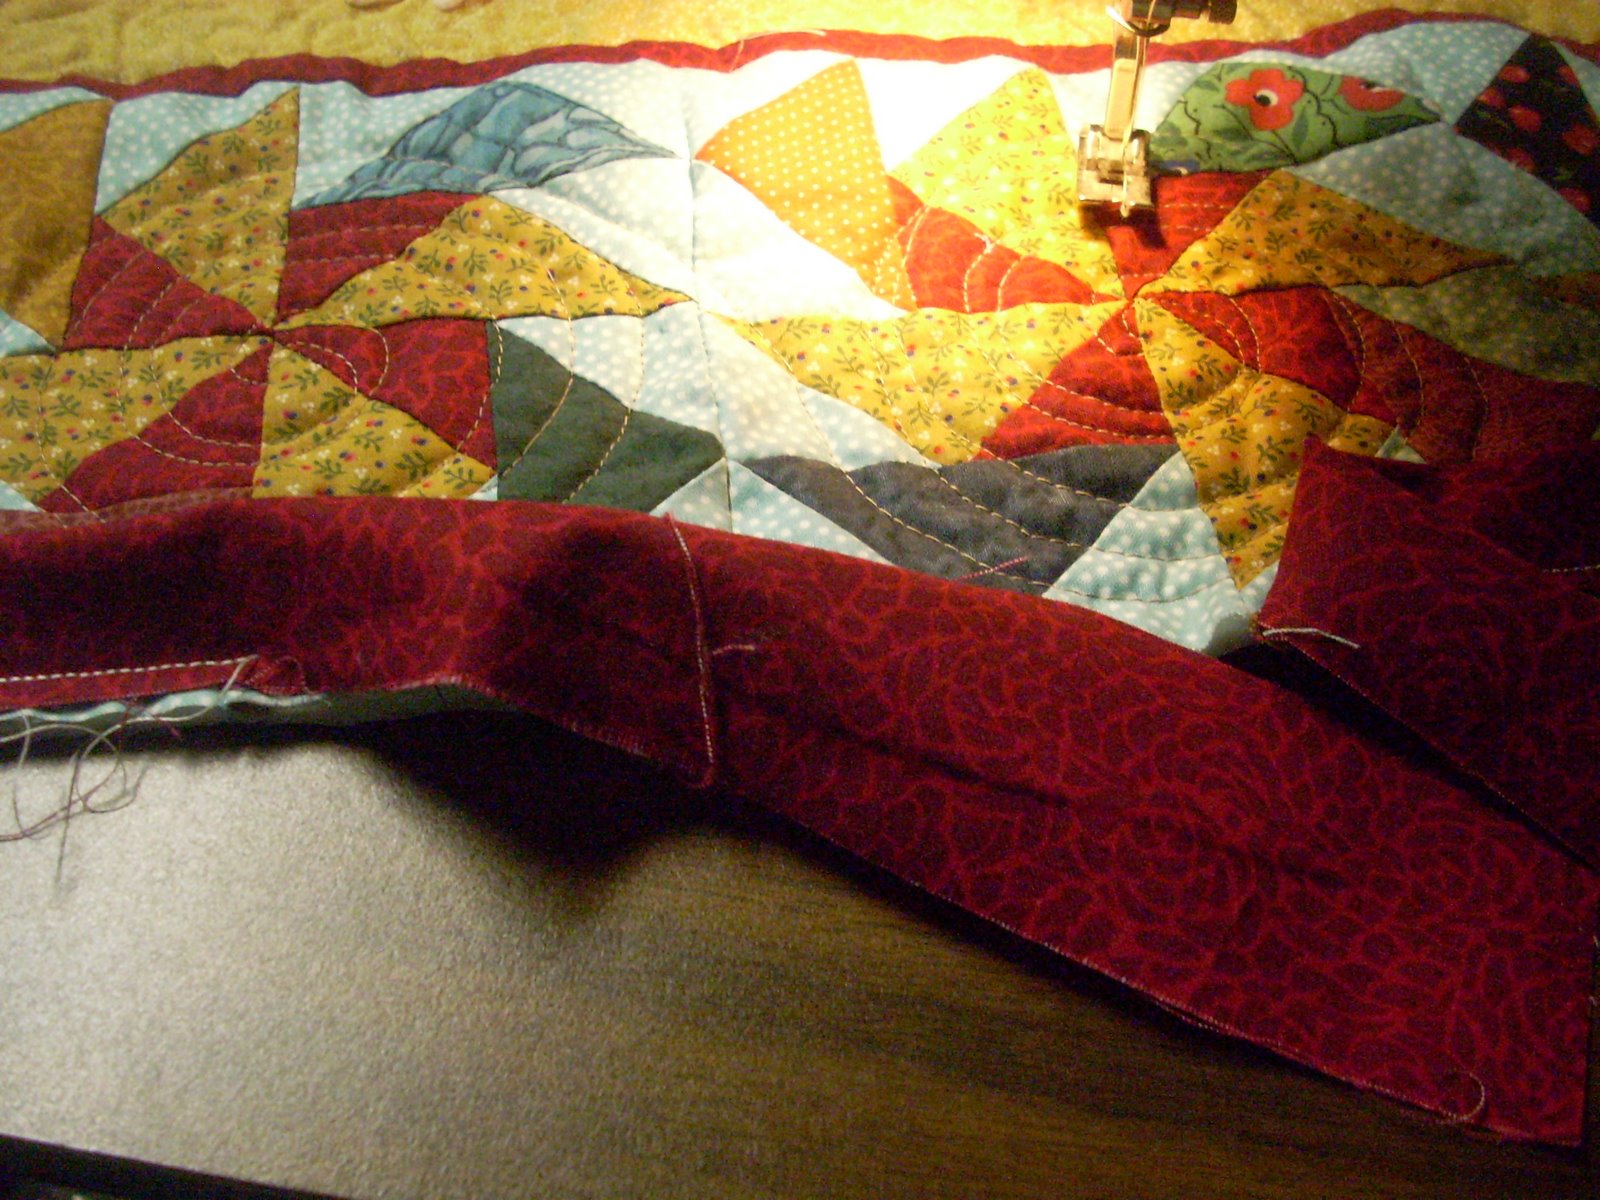
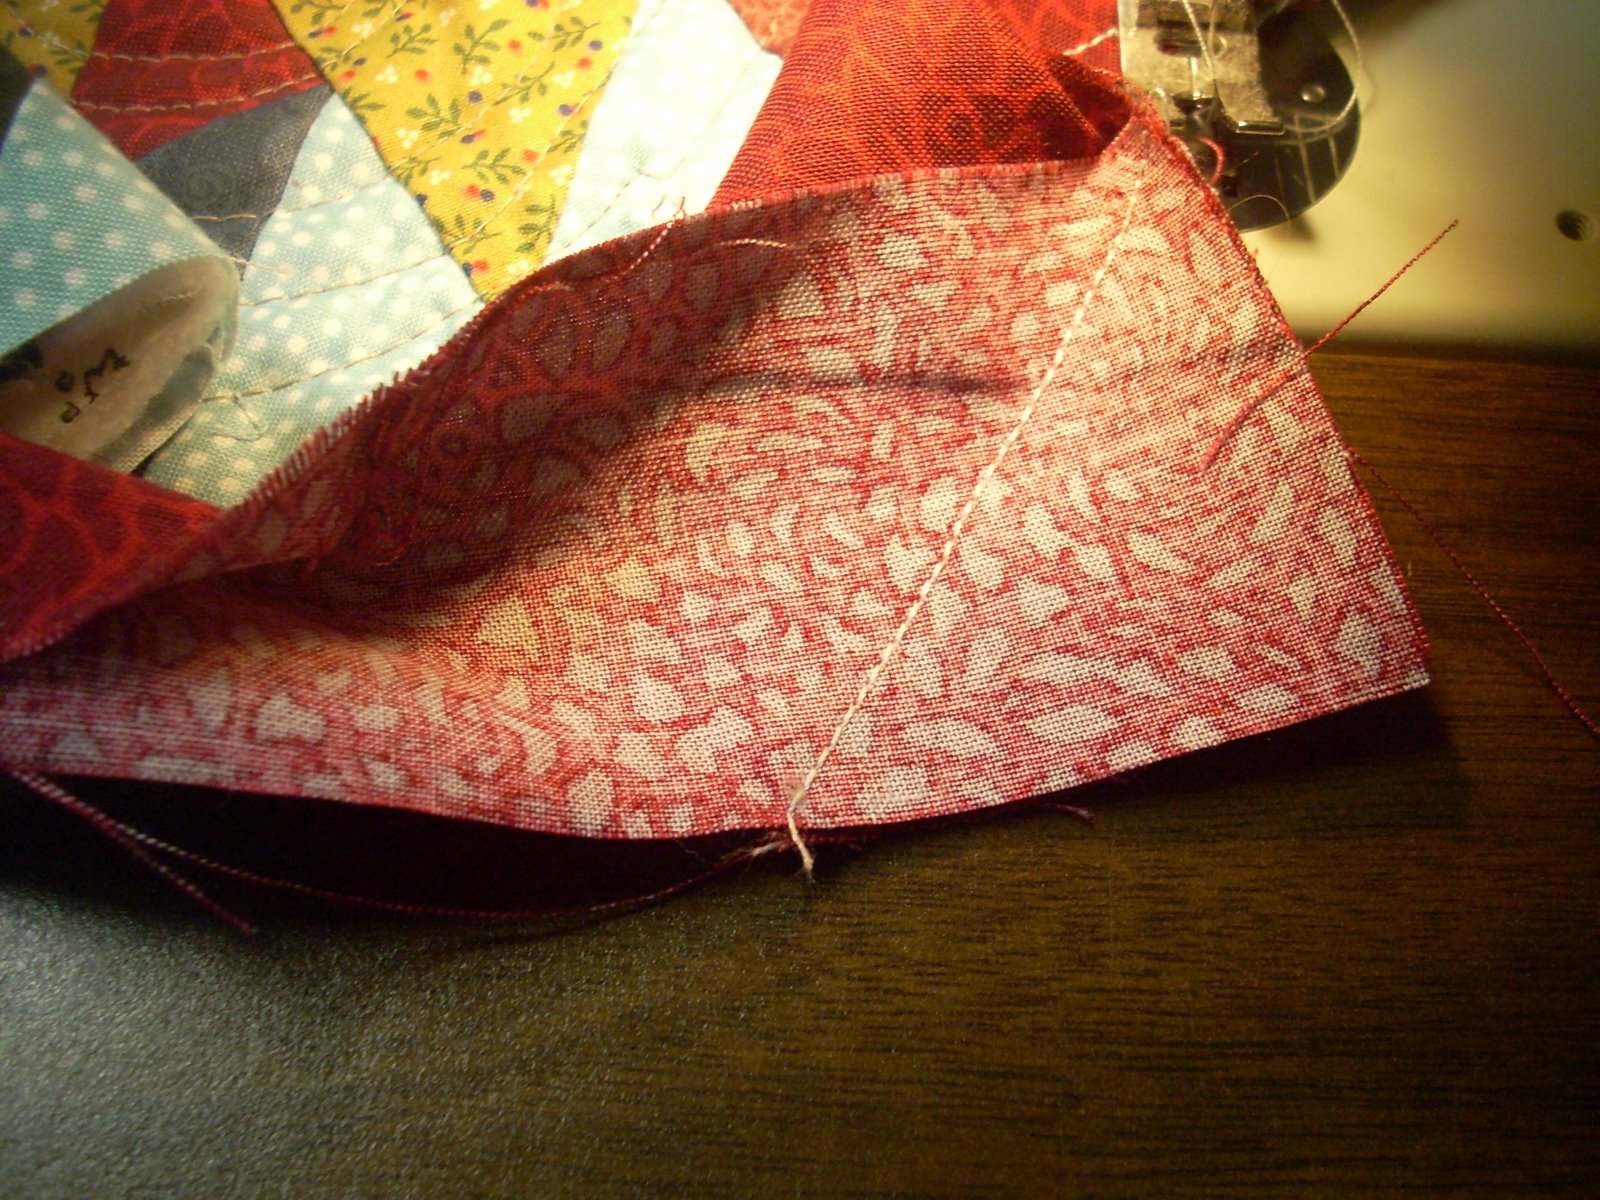
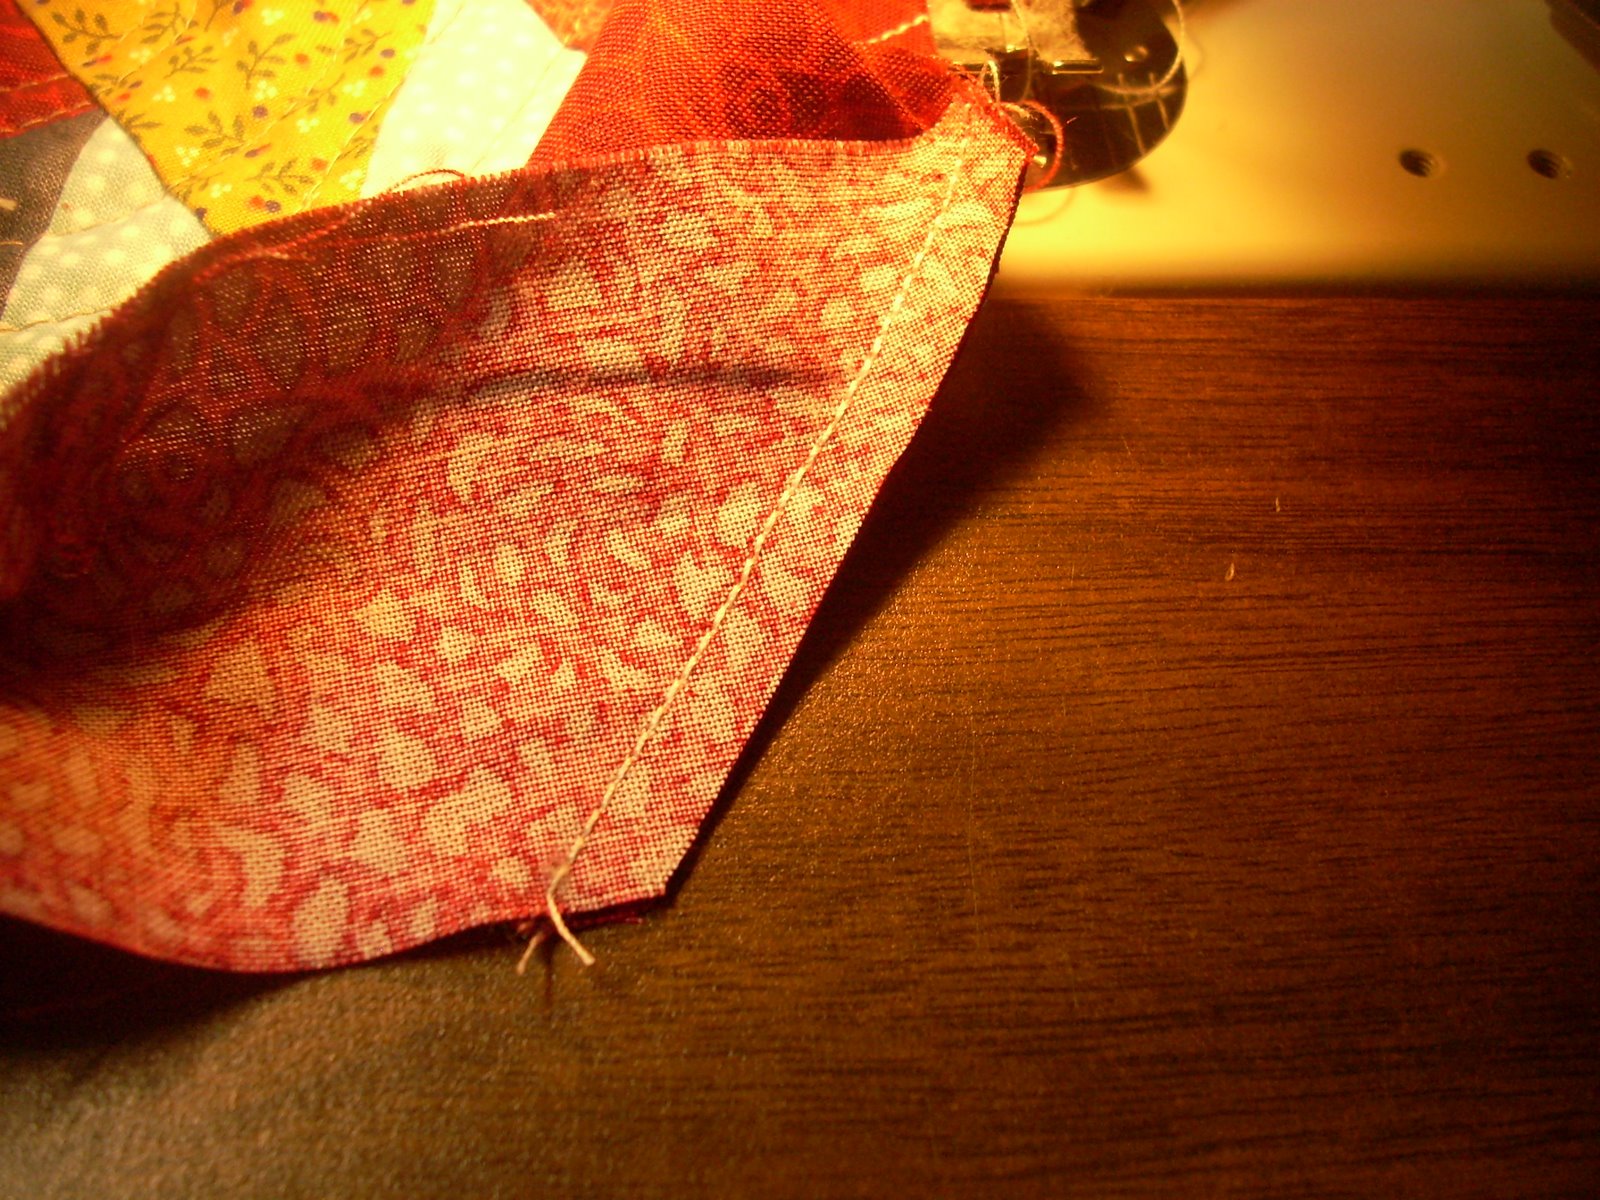
Finger bind until ends meet. Fold eachside back on th itself. Leaving a 1/2″ space in between.

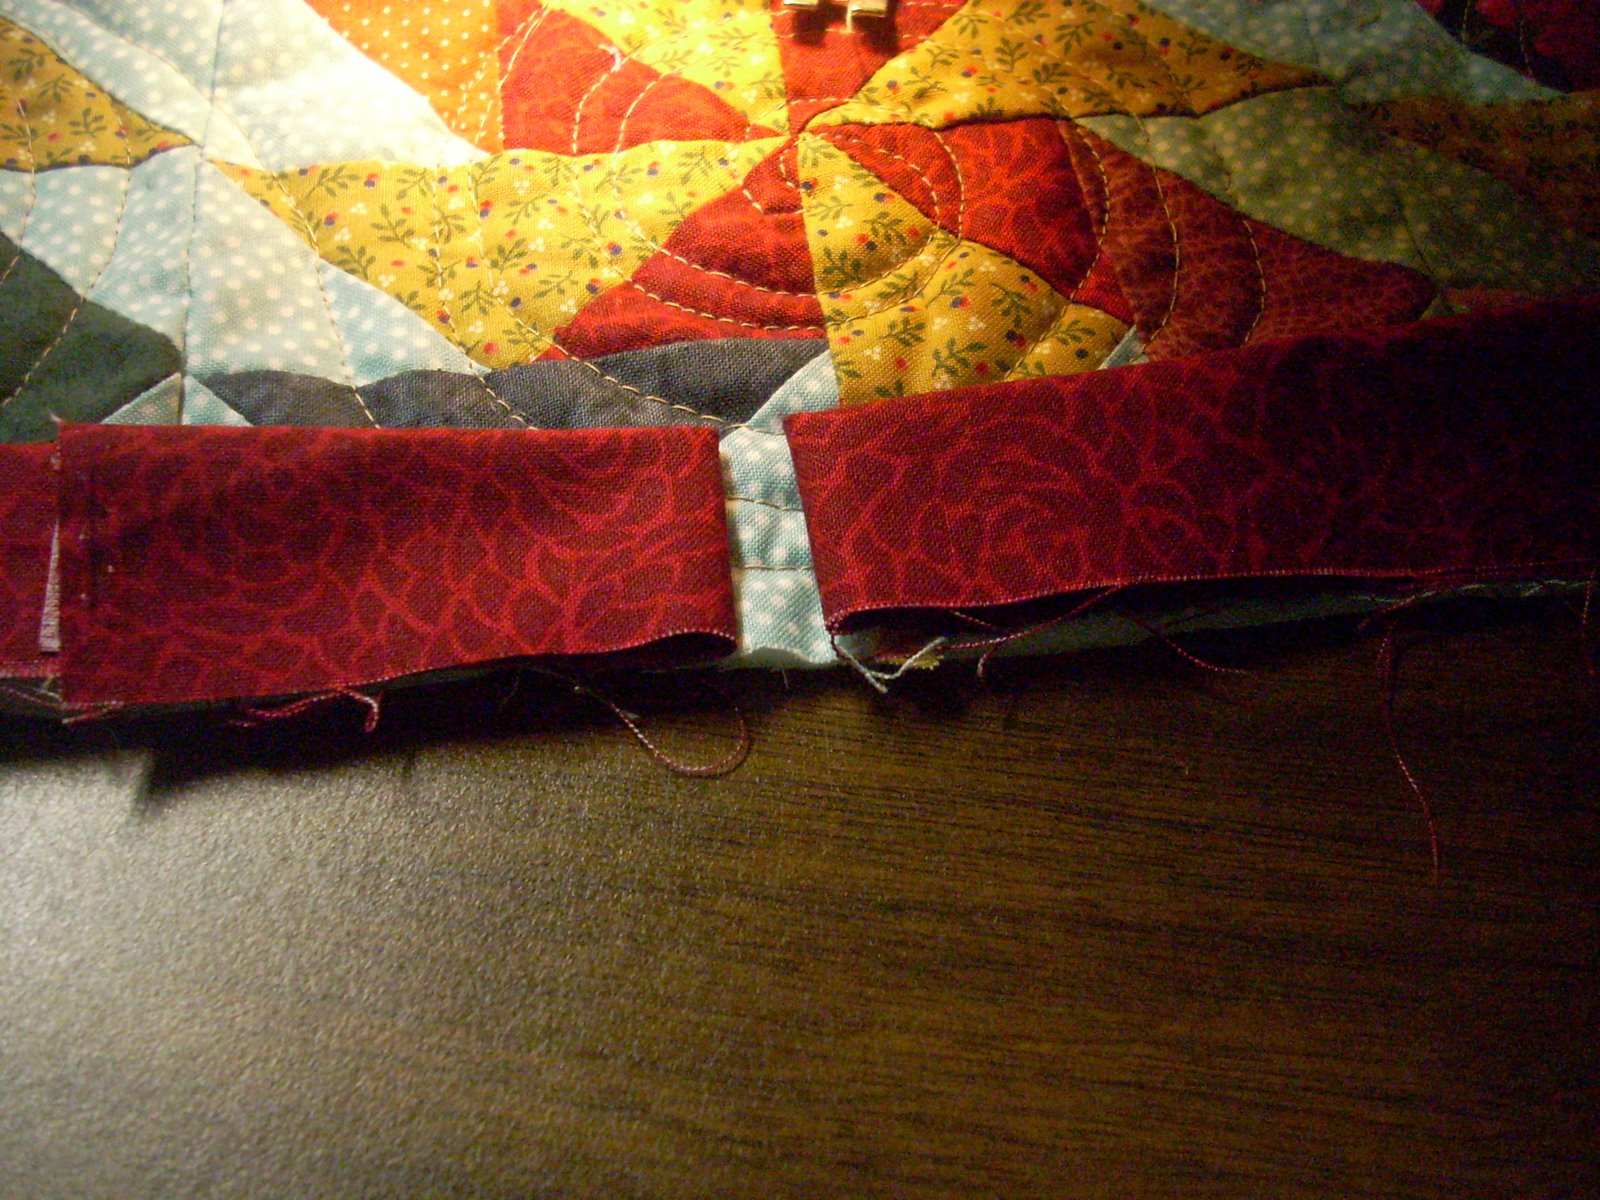
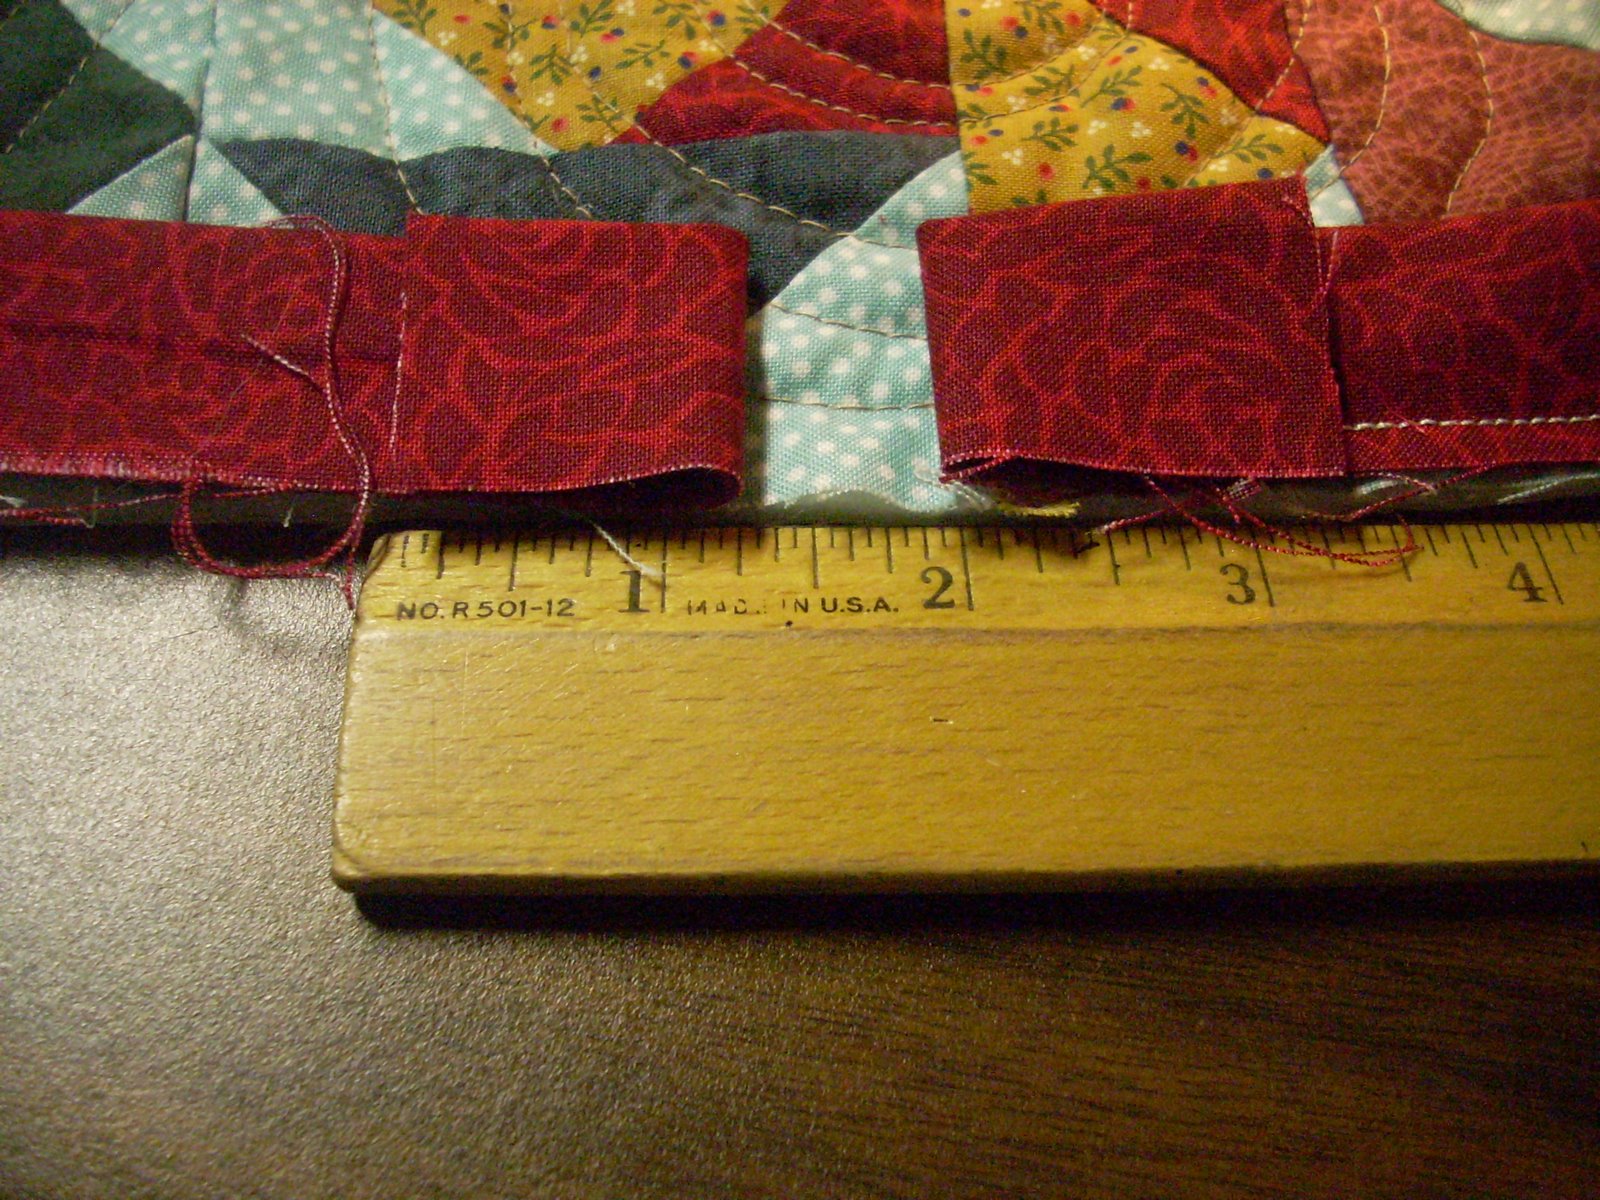
Trim ends so that from the 1/2″ gap they are half of the width of your binding. (ie.. 1 1/4″ if binding is 2 1/2″) Sew a diagonal seam to join binding ends. Trim to 1/4″ Wha la your binding fits perfectly. Sew into place. You are now ready to turn and hand stitch in place.

19 Comments

  • audreypawdrey says:

    Thanks for sharing this! I have not figured out a way to do this yet, so I will have to try your method next. I am always off somehow.

  • Myra says:

    Thanks for the little Tute!
    I do my binding somewhat similar, but have a heck of a time with it until I’ve laid it our right…which can take about 10-15 minutes!!! Will have to give your way a try… Looks much simpler! 😎

  • jacquie says:

    this looks so much simpler than what i do. i’m definitely giving this a try.

  • Barefoot Quilter says:

    That is really neat. I will try it on my next quilt. Thanks for stopping by. It’s a pleasure to follow your blog. I am so happy I found this community of quilters!

  • dot says:

    Thanks for visiting my blog and leaving a comment. I did not know of yours but now I do. I will mark it and follow your quilting endeavors.

  • Hideaway Girl says:

    Great tutorial! I learned how to to do a basic binding from a blog tutorial (& then showed my mom, mother-in-law & friend). I missed this step before – Thanks! It's crazy how much I have learned from talented bloggers. BTW, I seriously love that quilt, especially the little people – SO CUTE!! One of these days, I need to learn how to do applique!

  • Lurline says:

    It is only about 12 months or so ago I was shown this method of joining the binding – fabulous isn’t it? Much neater than any other way.
    Hugs – Lurline.

  • *karendianne. says:

    Ahh, you make it look so easy. I always have to play around before I get it right. By the way, that quilting is great!

  • Kim says:

    You did a real nice job of showing us how to do this binding. Thanks!

  • Julie in the Barn says:

    Very nice tutorial. This seems better than what I’ve been doing. I’ll definitely try it on my next quilt. Thanks for sharing. Loved the quilt show, too.

  • jovaliquilts says:

    This sounds easy,and I’ve never heard of it! I thought I’d seen every binding technique there was, but I missed this one. Thanks for sharing!

  • Unknown says:

    I’ve seen this before but not explained as well! Thank You 🙂

  • MARCIE says:

    Maybe if I follow your instructions when I bind a quilt I can do that the right way. I screw it up every time when I try to do it diagonally. Nice tutorial!

  • Anonymous says:

    This is THE greatest tip ever! I hate doing bindings and tried several ways to make the ends meet. It never works the way I want to. I tried your way of doing it and it fitted perfectly!I’ll bookmark the tutorial and I’ll pass it on! You rock!

  • Nettie says:

    Loved your perfect binding demo. I was wondering, how much of a gap do I leave if I usually do my binding 2 1/4″??
    Nettie

  • Unknown says:

    I come back here everytime to make sure I have it right! tonight it’s doll quilts for my etsy shop – thanks again 🙂

  • Bec says:

    Thanks for a great Tutorial… Ive linked it up in My QUilt Class 101 series.. you can see here
    chasingcottons.blogspot.com/2011/07/quilt-class-101-week-12-binding.html
    Hope thats ok… Links to this tutorial..

    Thank you xx Bec

  • eva says:

    great tutorial, but i just need clarification on one step.
    what is "Wha la your binding" i don't know what wha la-ing is.
    help..
    xo
    eva

  • Simon Says Sew says:

    Thank you so much for this tip/trick!!I had tried EVERYTHING with no luck and you trick worked like a charm!

Leave a Reply