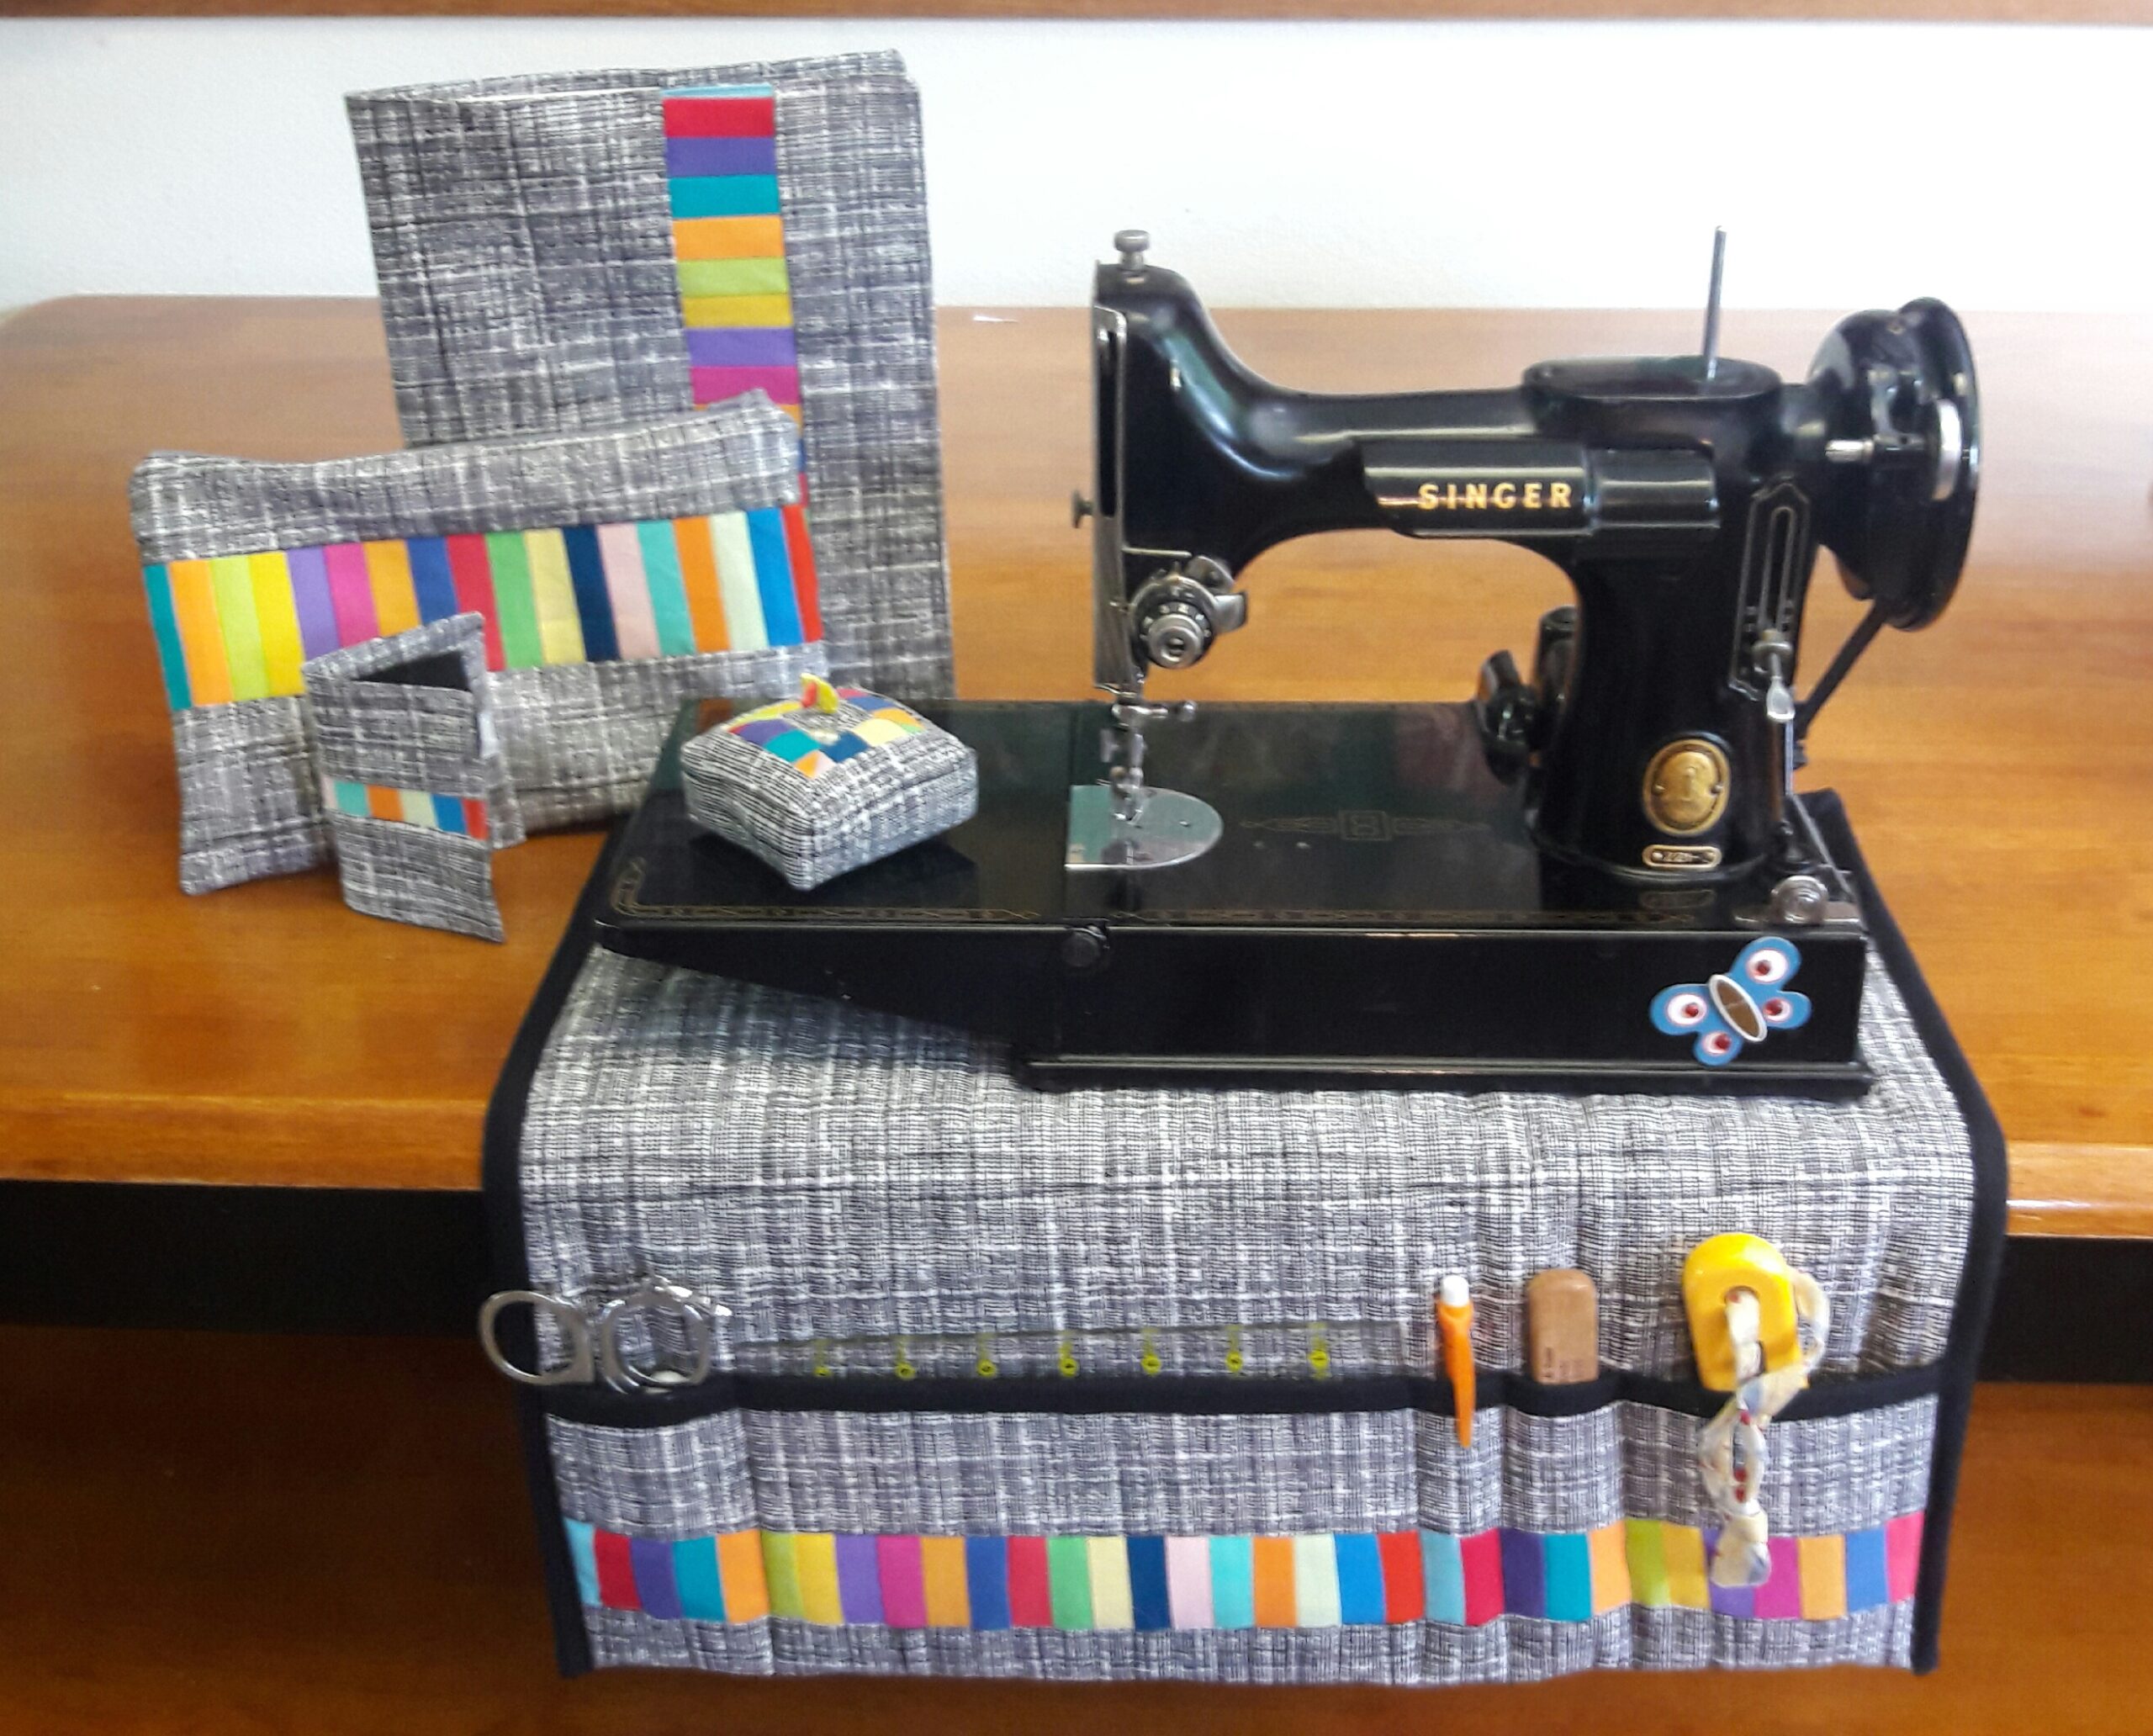
While I’m not a stickler for all my seams matching and no cut off points. I do aim for accurate piecing. Keeping in mind that it’s a journey. Improvement happens over time. Remembering this helps me on those days that things don’t go as planned. When me and the seam ripper enjoy a love hate relationship.

I hope these five tips help you have more success with your piecing. First make sure your tools are in good working order. Dull scissors or rotary cutters can cause you to pull and distort your fabric when they fail to cut a thread or two. Keeping your scissors sharp and a new blade in your rotary cutter will eliminate this problem. Starting with accurately cut pieces will go a long way to ensure your finished quilt has matching seams and perfect points.

Accurate Seams
Another trick for perfect piecing is to ensure your seam is a scant 1/4″ A scant 1/4 includes the seam and fold of the fabric when pressed. So when measuring your seam you will want to make sure it is just under 1/4″. To do this; make a test seam and measure your seam allowance. Once you’ve established where your machine sews a scant 1/4″ you may want to mark a line with tape. This illuminates guess work.

Giving Yourself Some Wiggle Room
Third, when creating half square triangles you may want to make them a little bigger then trim to the correct size. This method works for me when I’m not using die cut pieces. I find that no matter how careful I am. My HST’s distorted when I put two squares together, draw the line and sew 1/4″ on either side of that line. Making the HST a little bigger gives me a little wiggle room to correct that problem.

Next measuring units and along the way ensures the finished quilt comes together correctly. Little 1/4″ errors add up when assembling the whole quilt. Making sure units and blocks are true helps to fix this. Also squaring things up so you have a straight edge. Takes the guess work out of where you should be lining up units and blocks before sewing.

Pressing
Remember when using your iron to press. This means placing the iron down on the fabric and not moving it around. When you move the iron around you risk the chance of distorting your seams. I also find it useful to set my seam before pressing it to one side. Finally pressing to the path of least resistance reduces bulk and helps blocks lay flat. Making it more likely they will be the right size.
Give Yourself Grace
I recently heard that progress comes when we give ourselves both accountability and grace. Yes, you want to improve. You want your quilt to be beautiful. But ripping something out over and over again to get it perfect, not only keeps you from progressing and learning. It takes all the fun out of the process. Move on to the next seam. Try a little harder next time. Trust that over time your skills will improve. That what you see as imperfect in someone else’s eyes is amazing.


References:
Startguthaben casino ohne einzahlung online casino deutschland lizenz