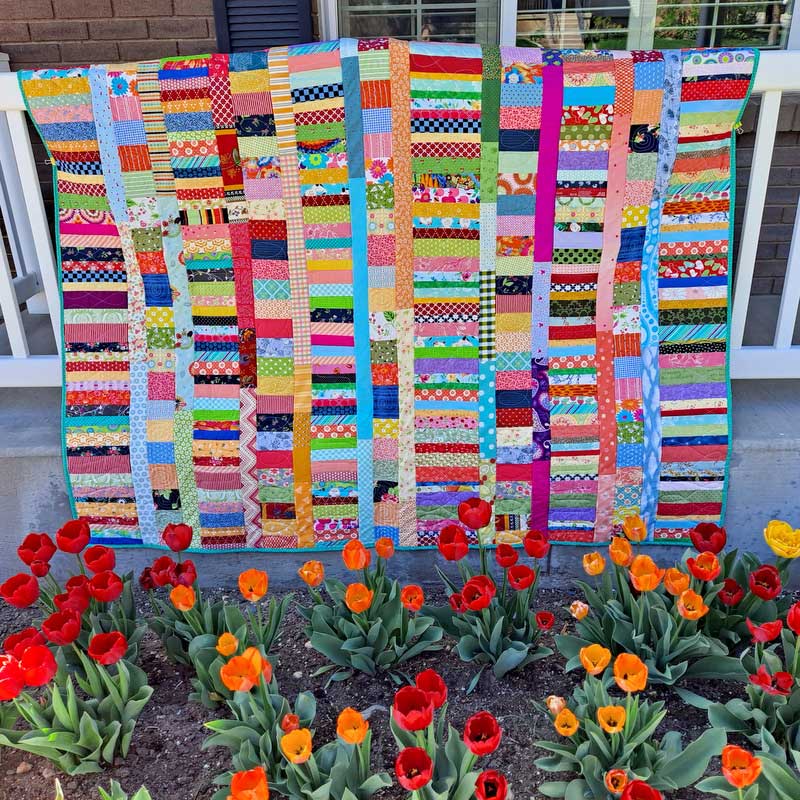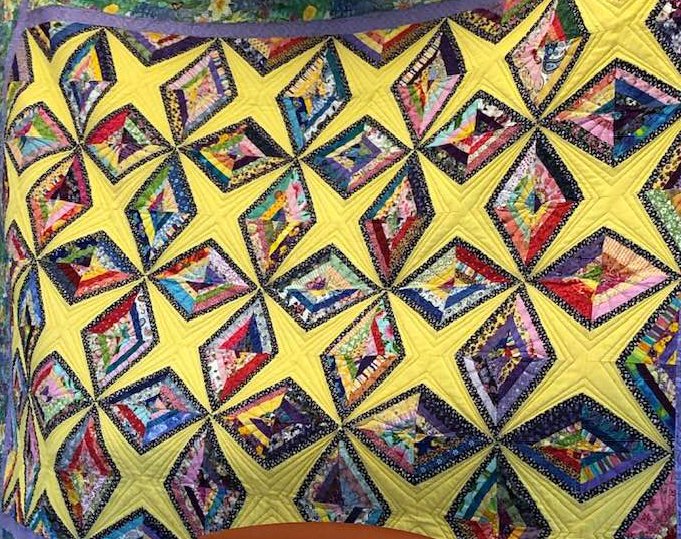
You may remember about a month ago I shared a quilt my guild is making. I had forgotten to take a picture. Fortunately, Brenda shared her picture with me. Isn’t it lovely. I really like how Vivian used a black print to outline her kites and stars. If you click on the picture you can see what a beautiful job Ruth did quilting it.

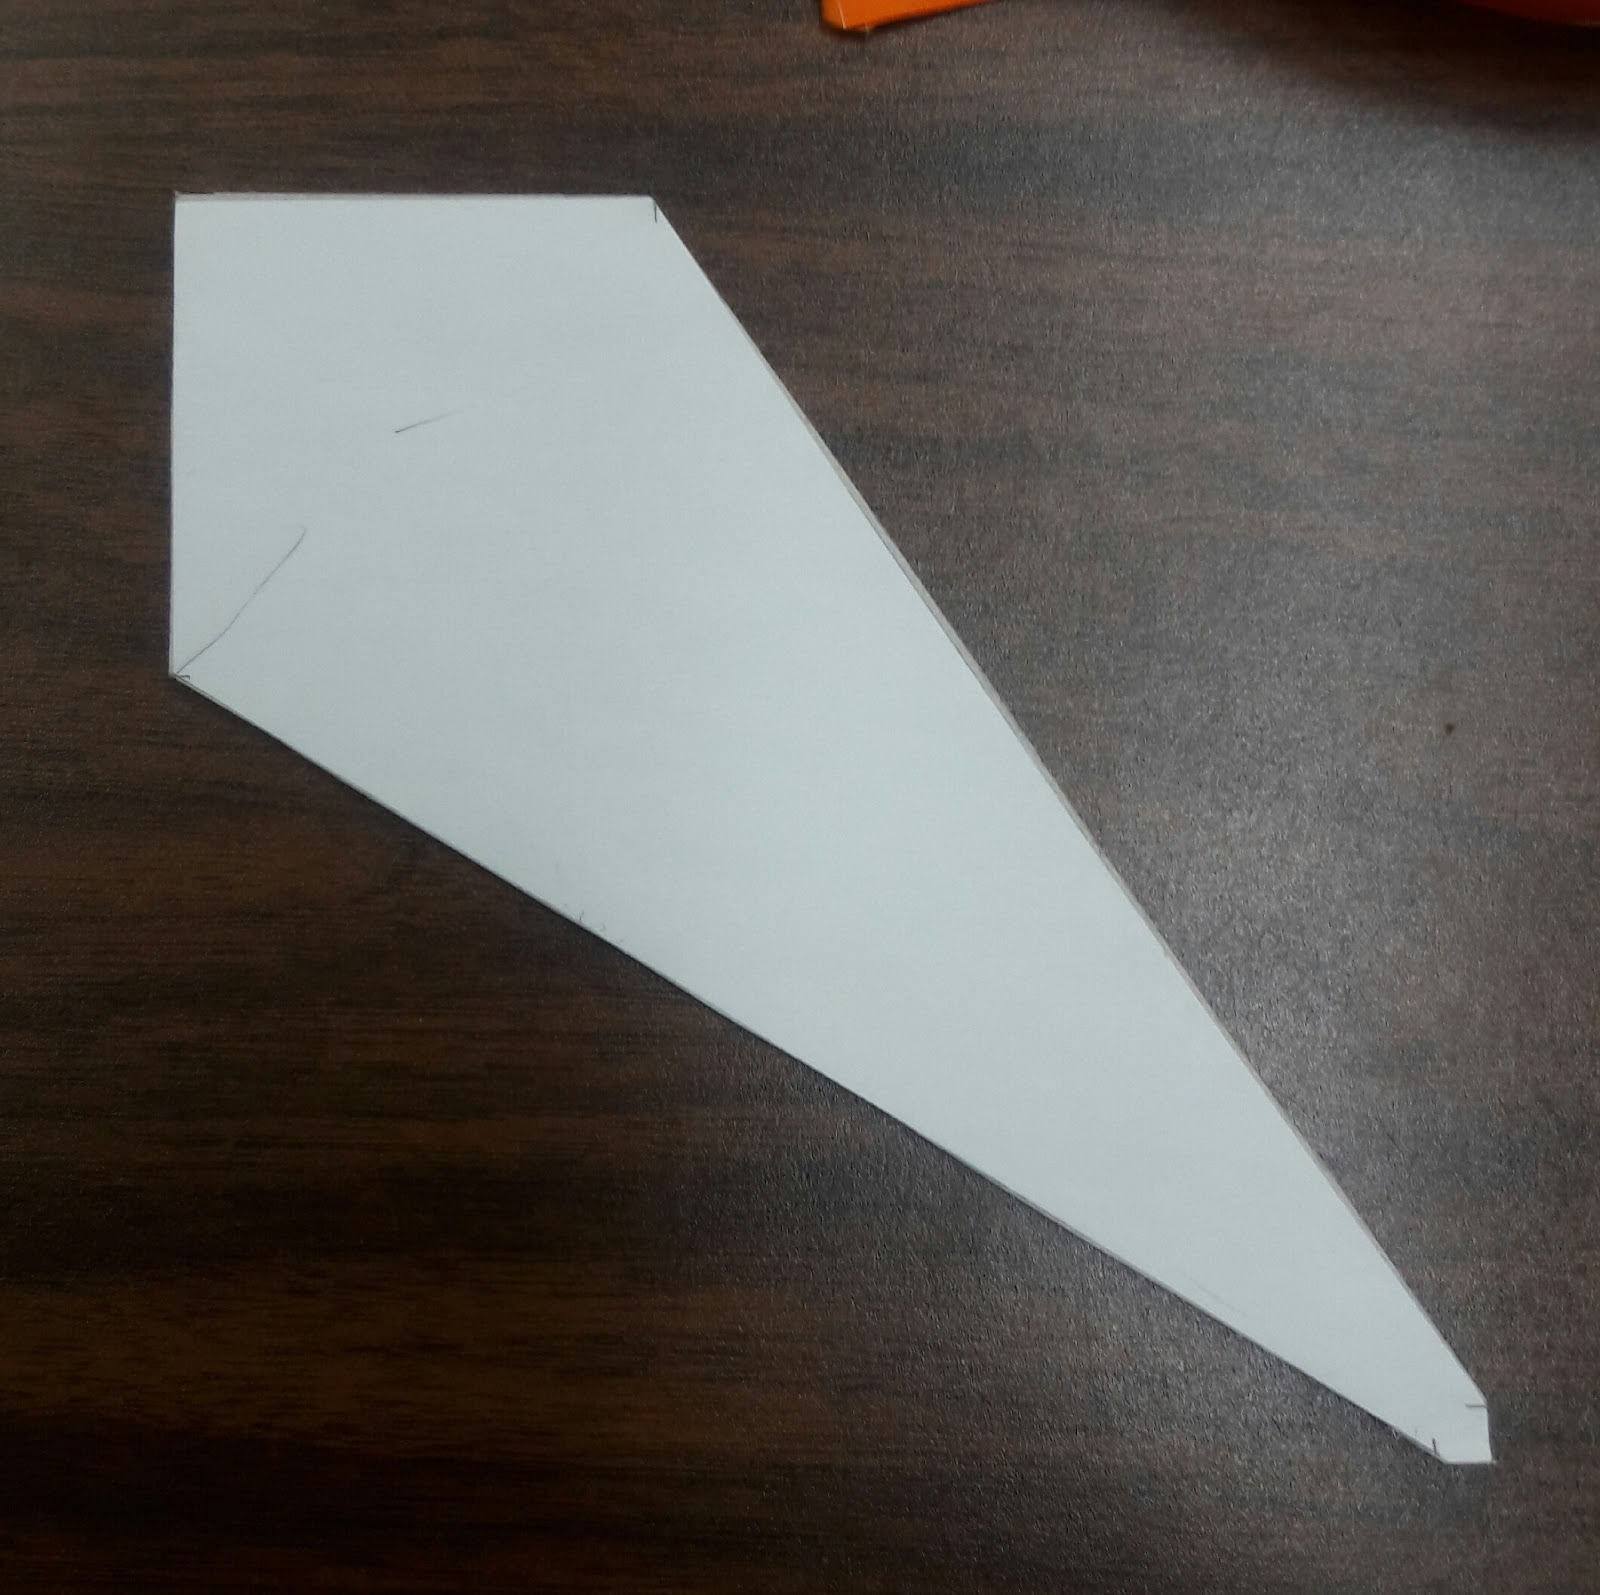
I had some interest in how this quilt is made. So I thought I’d share. To make your kite template, start with a 6 1/2″ square piece of paper. Measure 2 1/2″ away from one corner both directions and make a mark. In the opposite corner measure 1/4″ in both directions and make a mark. Connect the marks as shown. This creates your template.
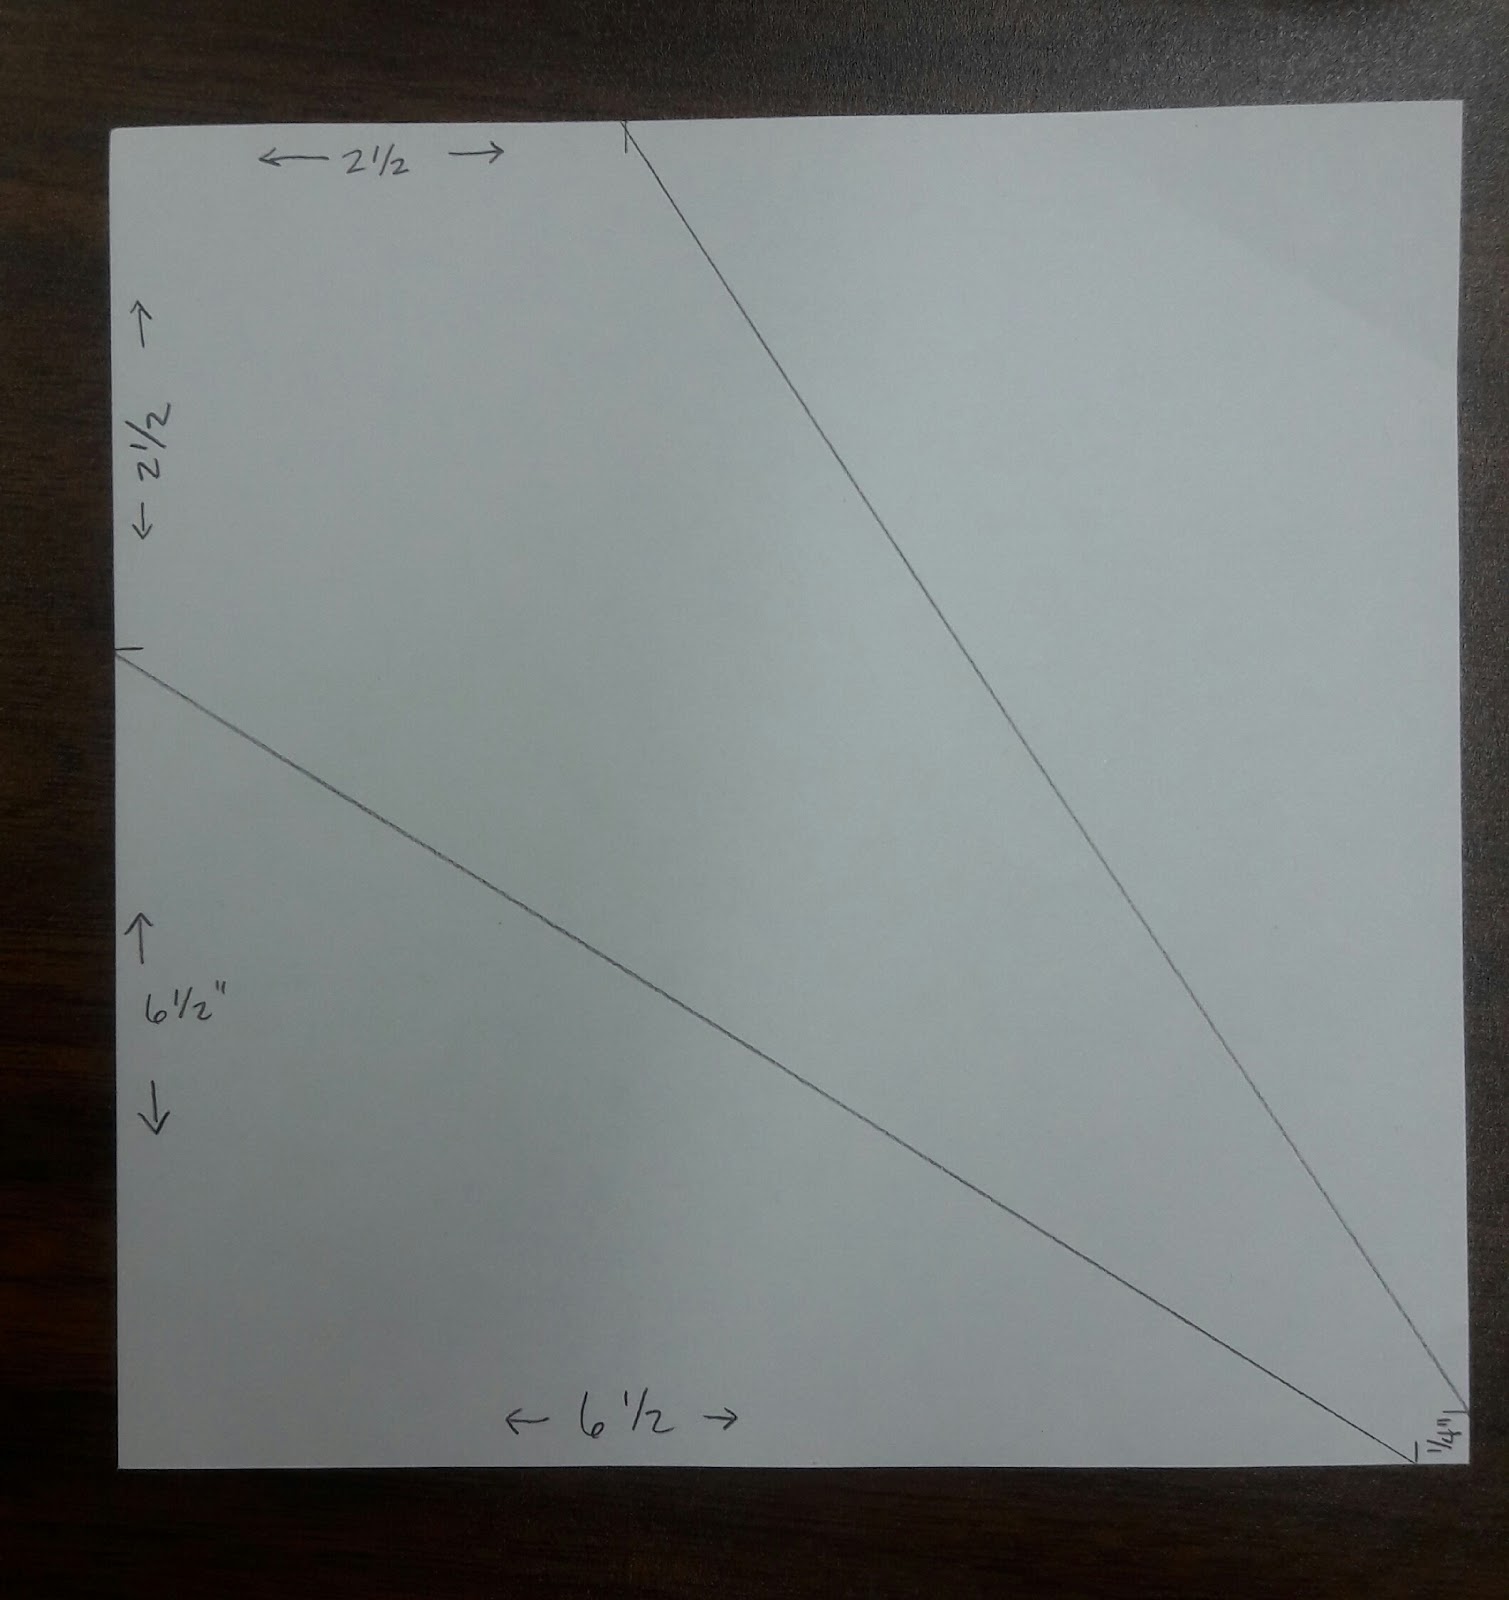
Mount on lightweight cardboard. I use cereal and cracker boxes. Then cut out.
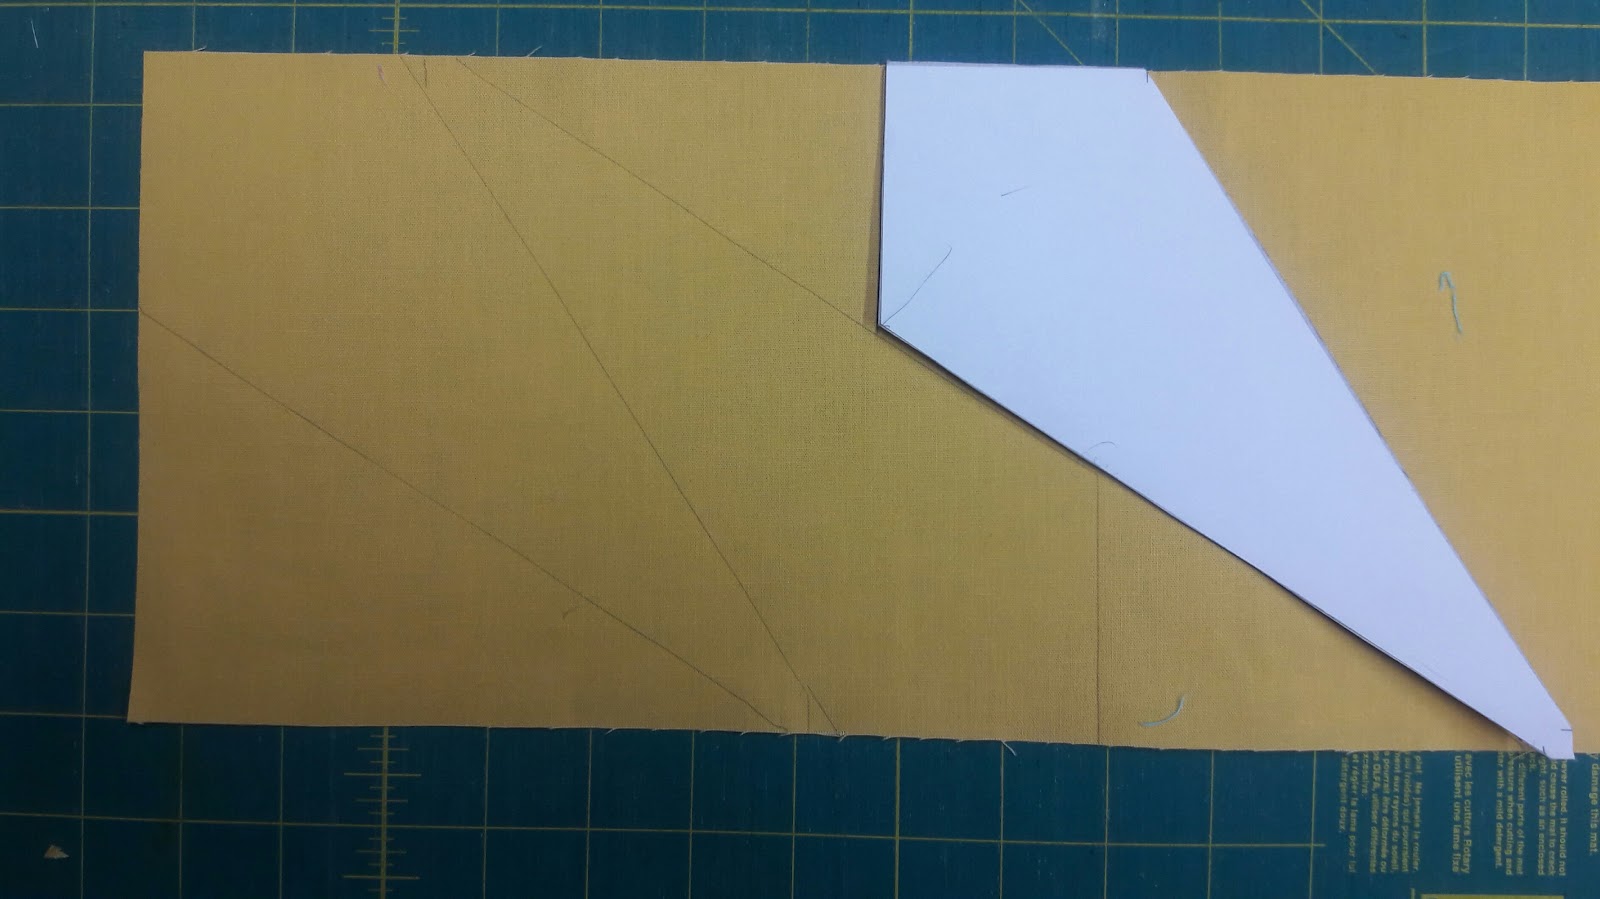
Cut out a 6 1/2″ strip of fabric that you want to use for your stars. I put about four layers together. Trace your template on the strip as shown. You may have to click on the picture in order to see the drawn templates. Continue in this manner along the length of your strip. Cut out.
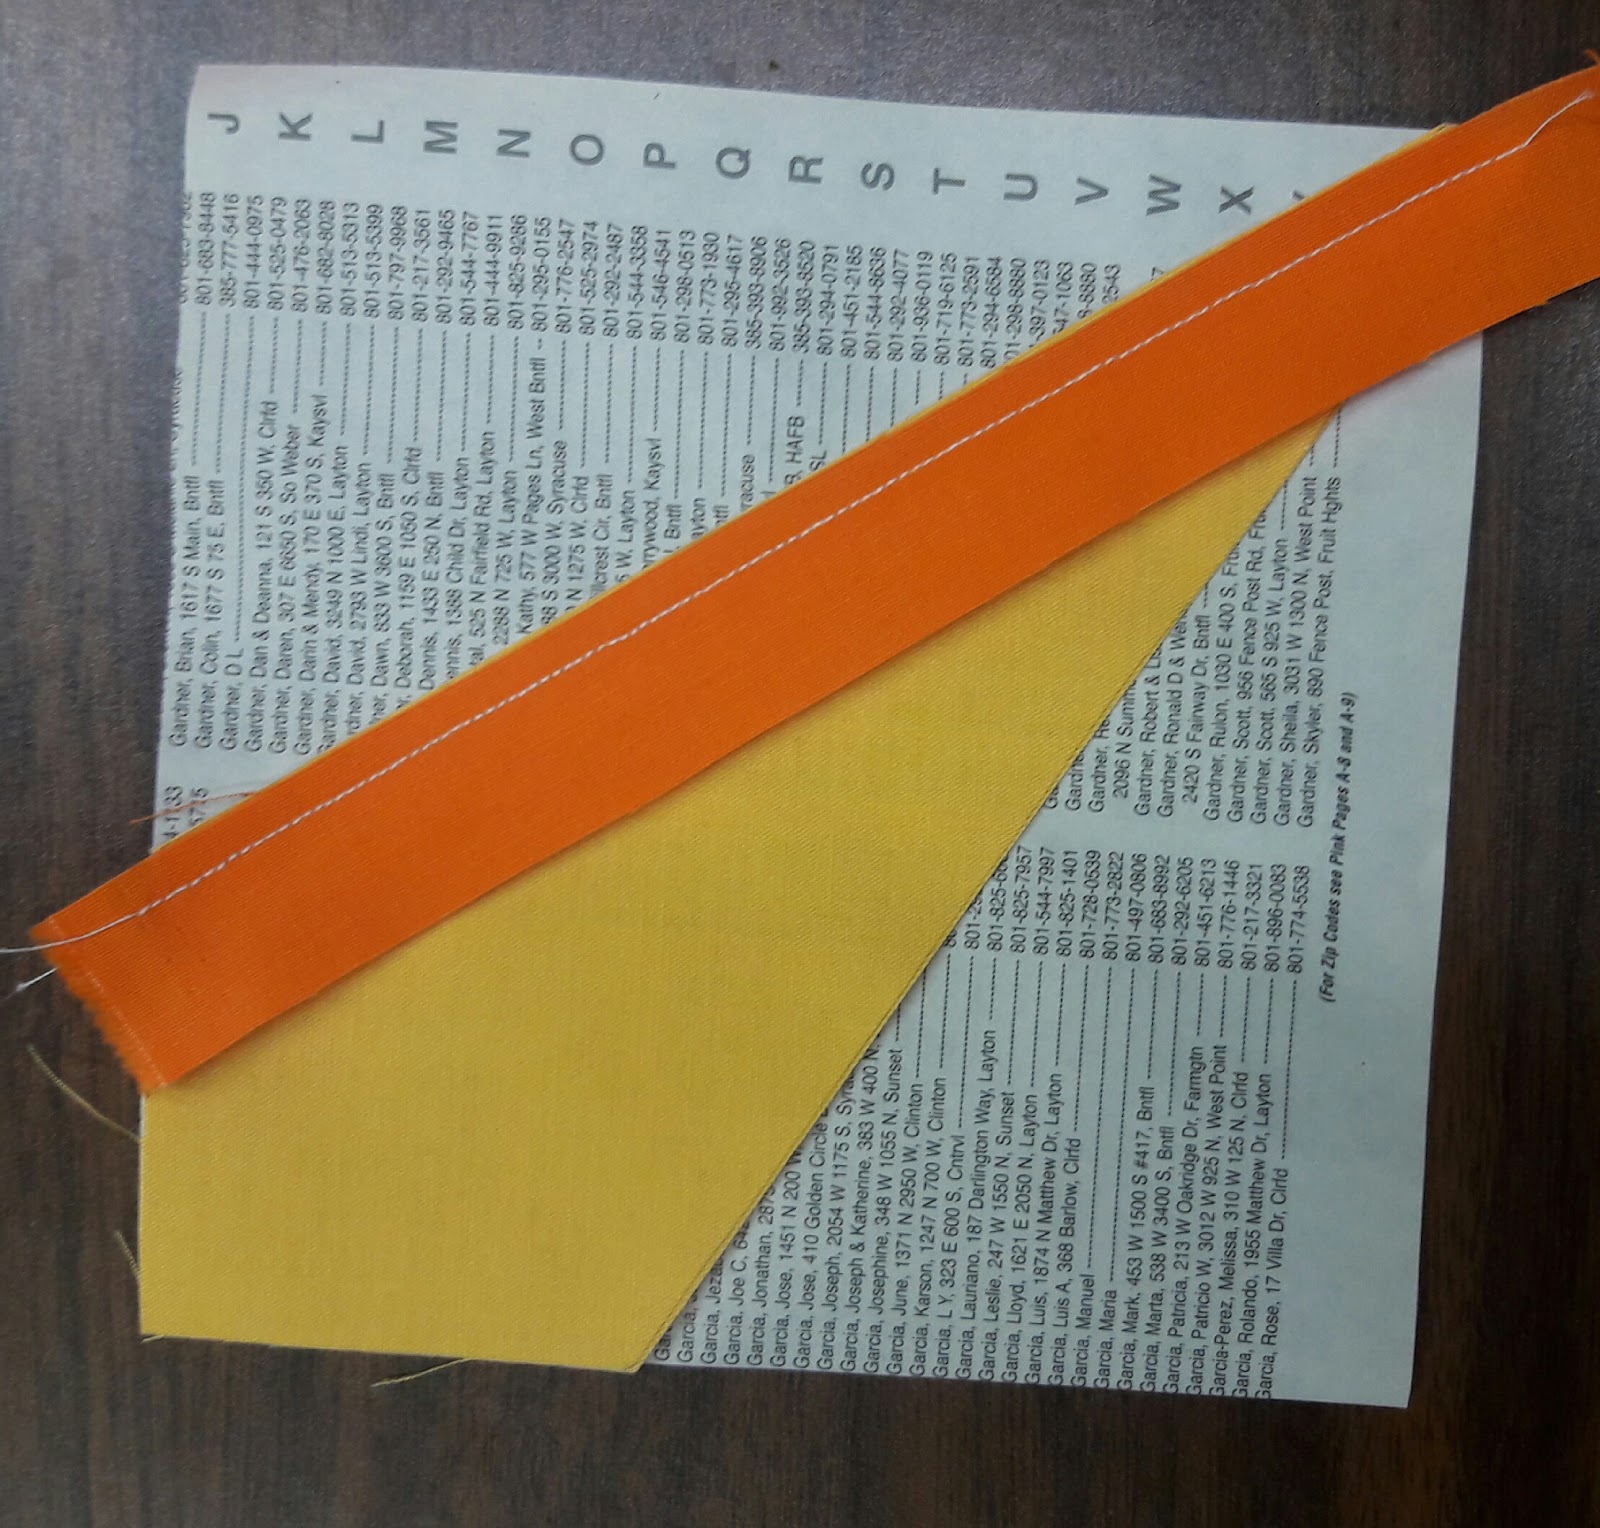
Using a 6 1/2″ foundation square (I used an old phone book page) glue, baste, or pin your kite in place.

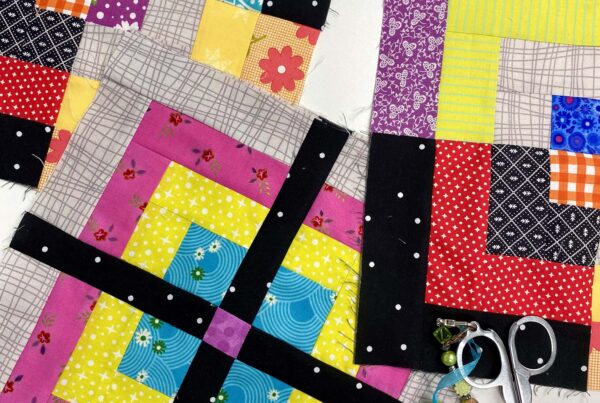
If you are outlining your kites and stars, use a 1″ wide strip and sew to the side of your kite.
Press and trim excess.
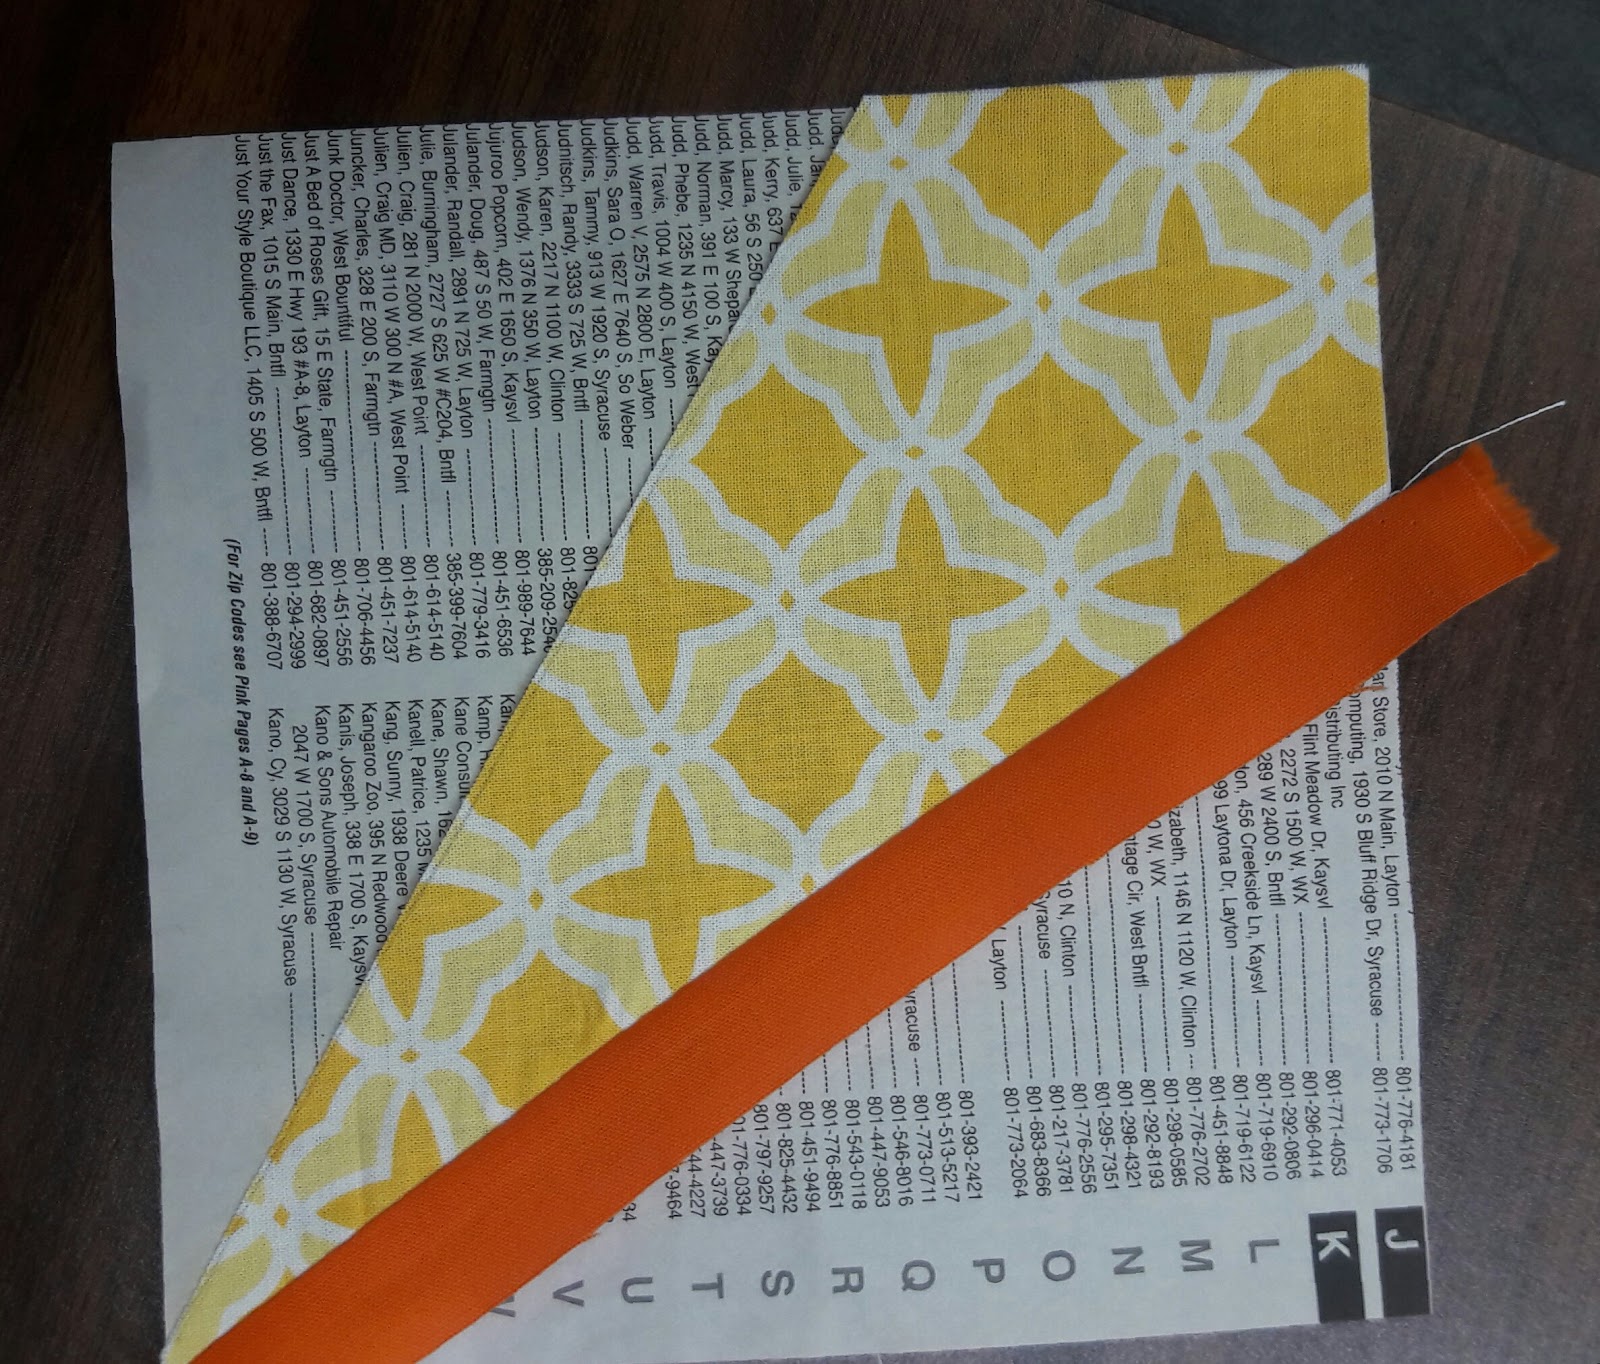
Repeat process on the other side of your kite. I found I was less likely to forget this step if I did both sides at the same time.
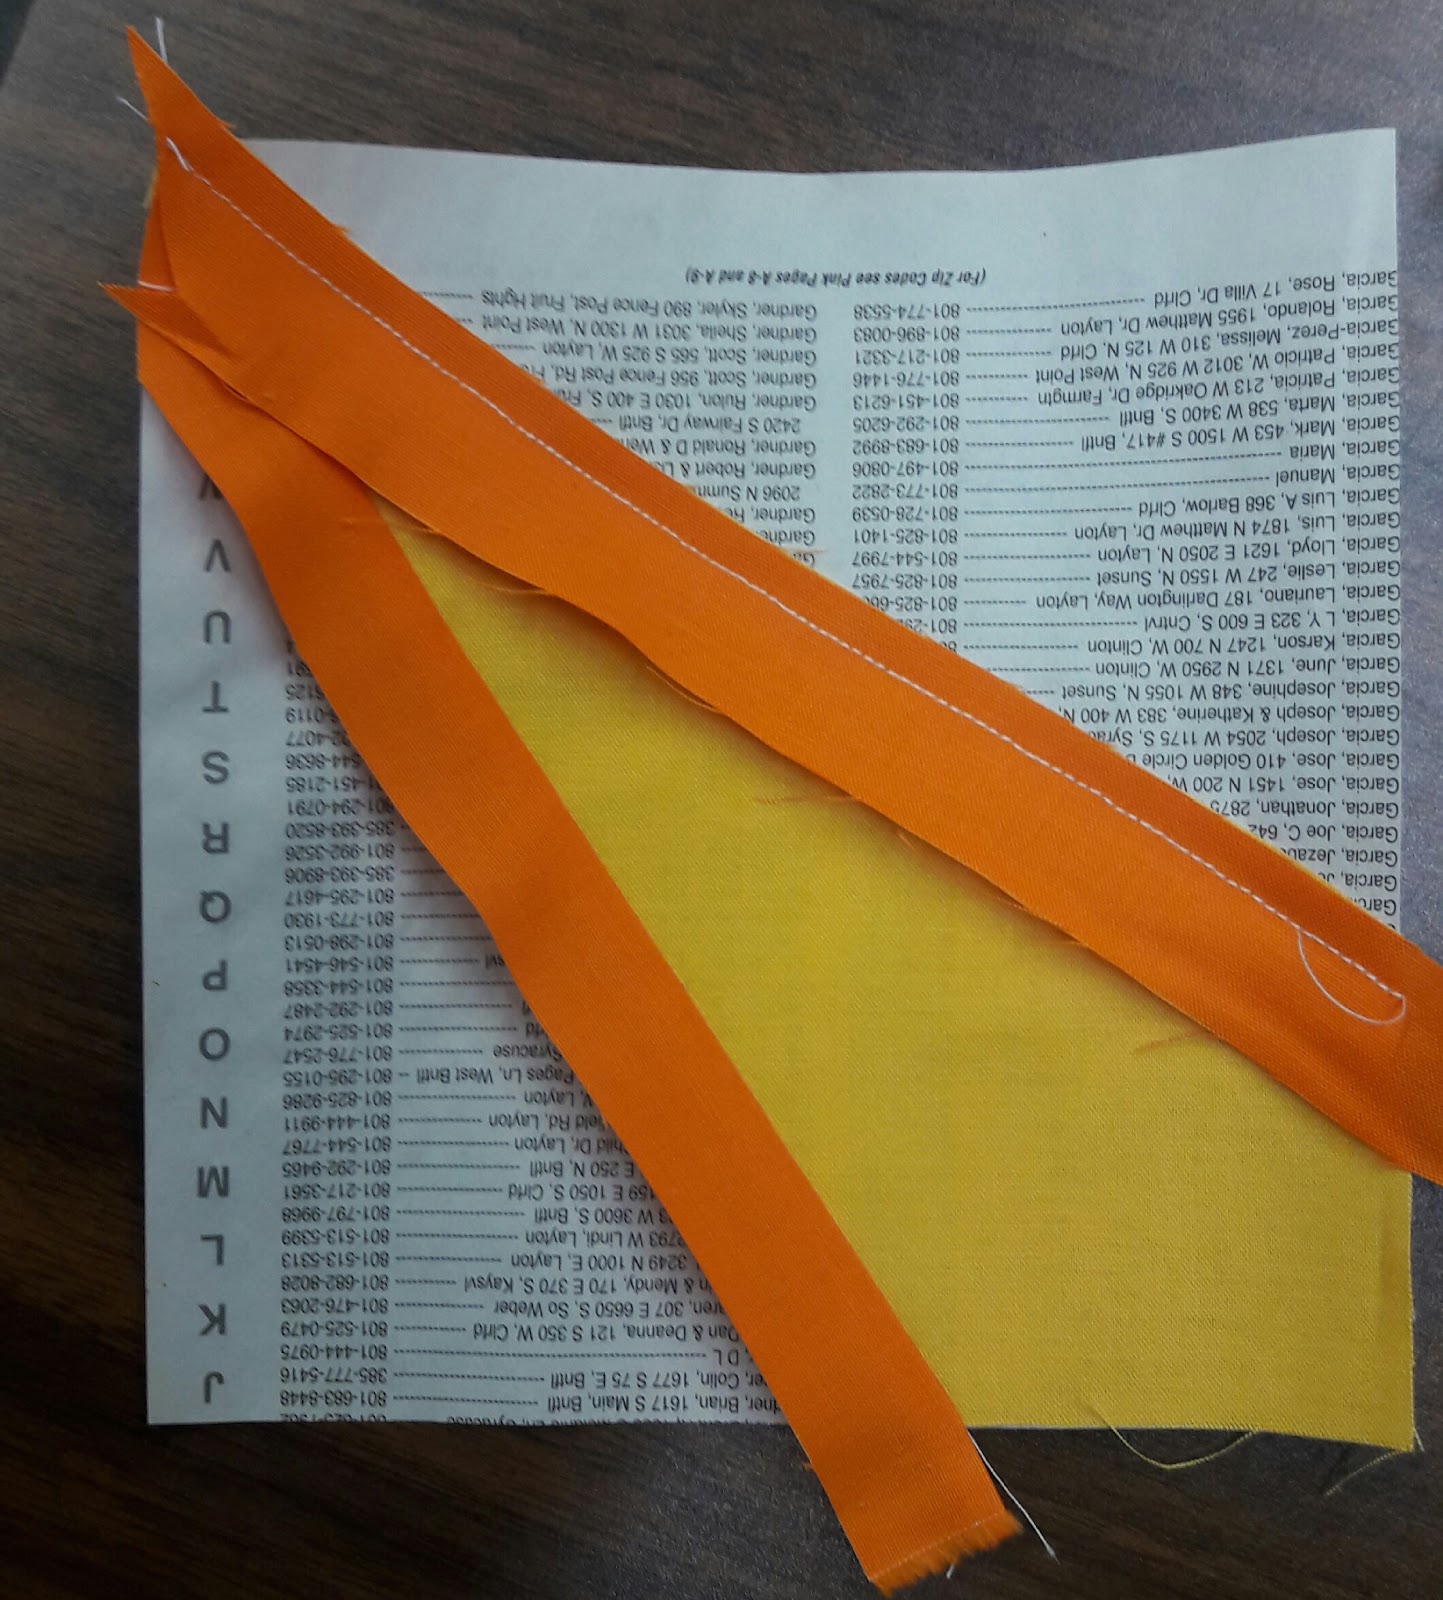
Using your kite strips (I used mostly 1 1/2″ strips though I had a few that were a little bigger or a little smaller) sew to one side of your kite.

Continue sewing strips until your foundation is covered.

Trim your strips
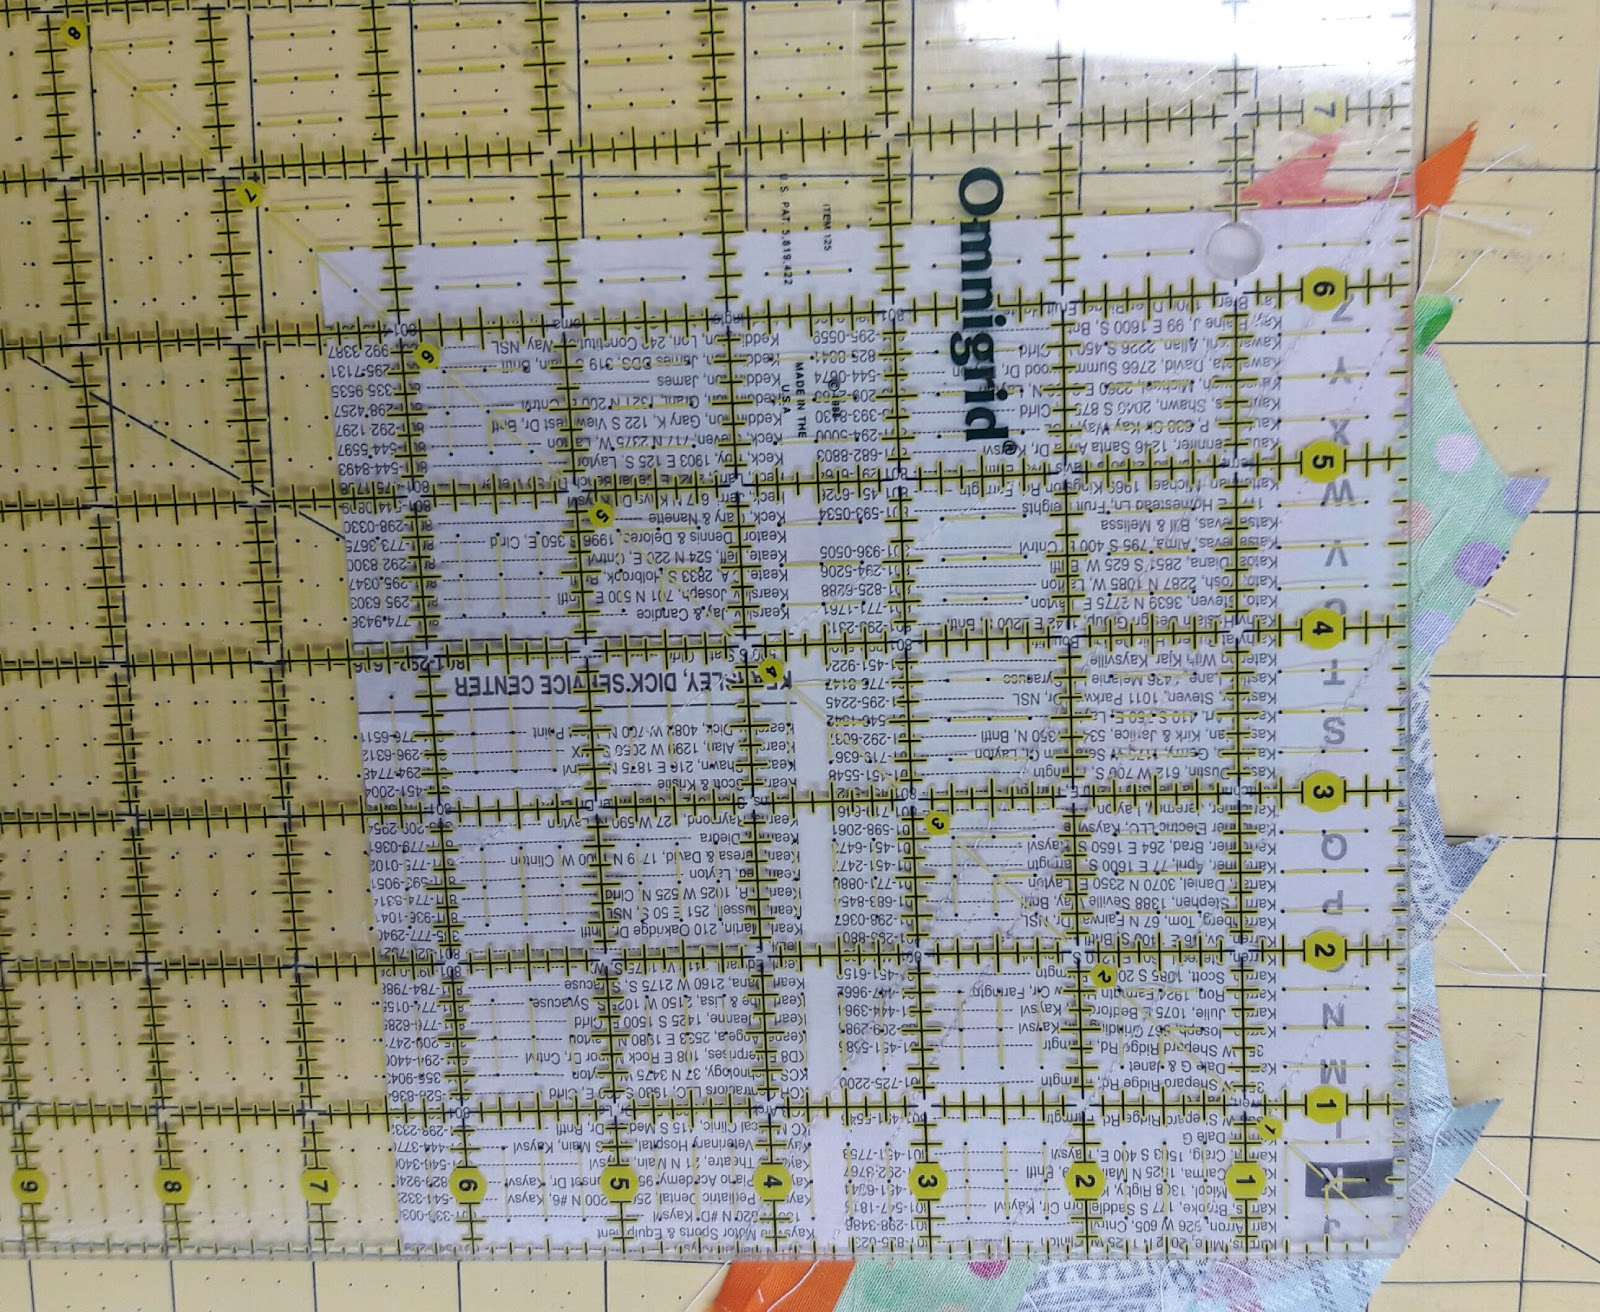
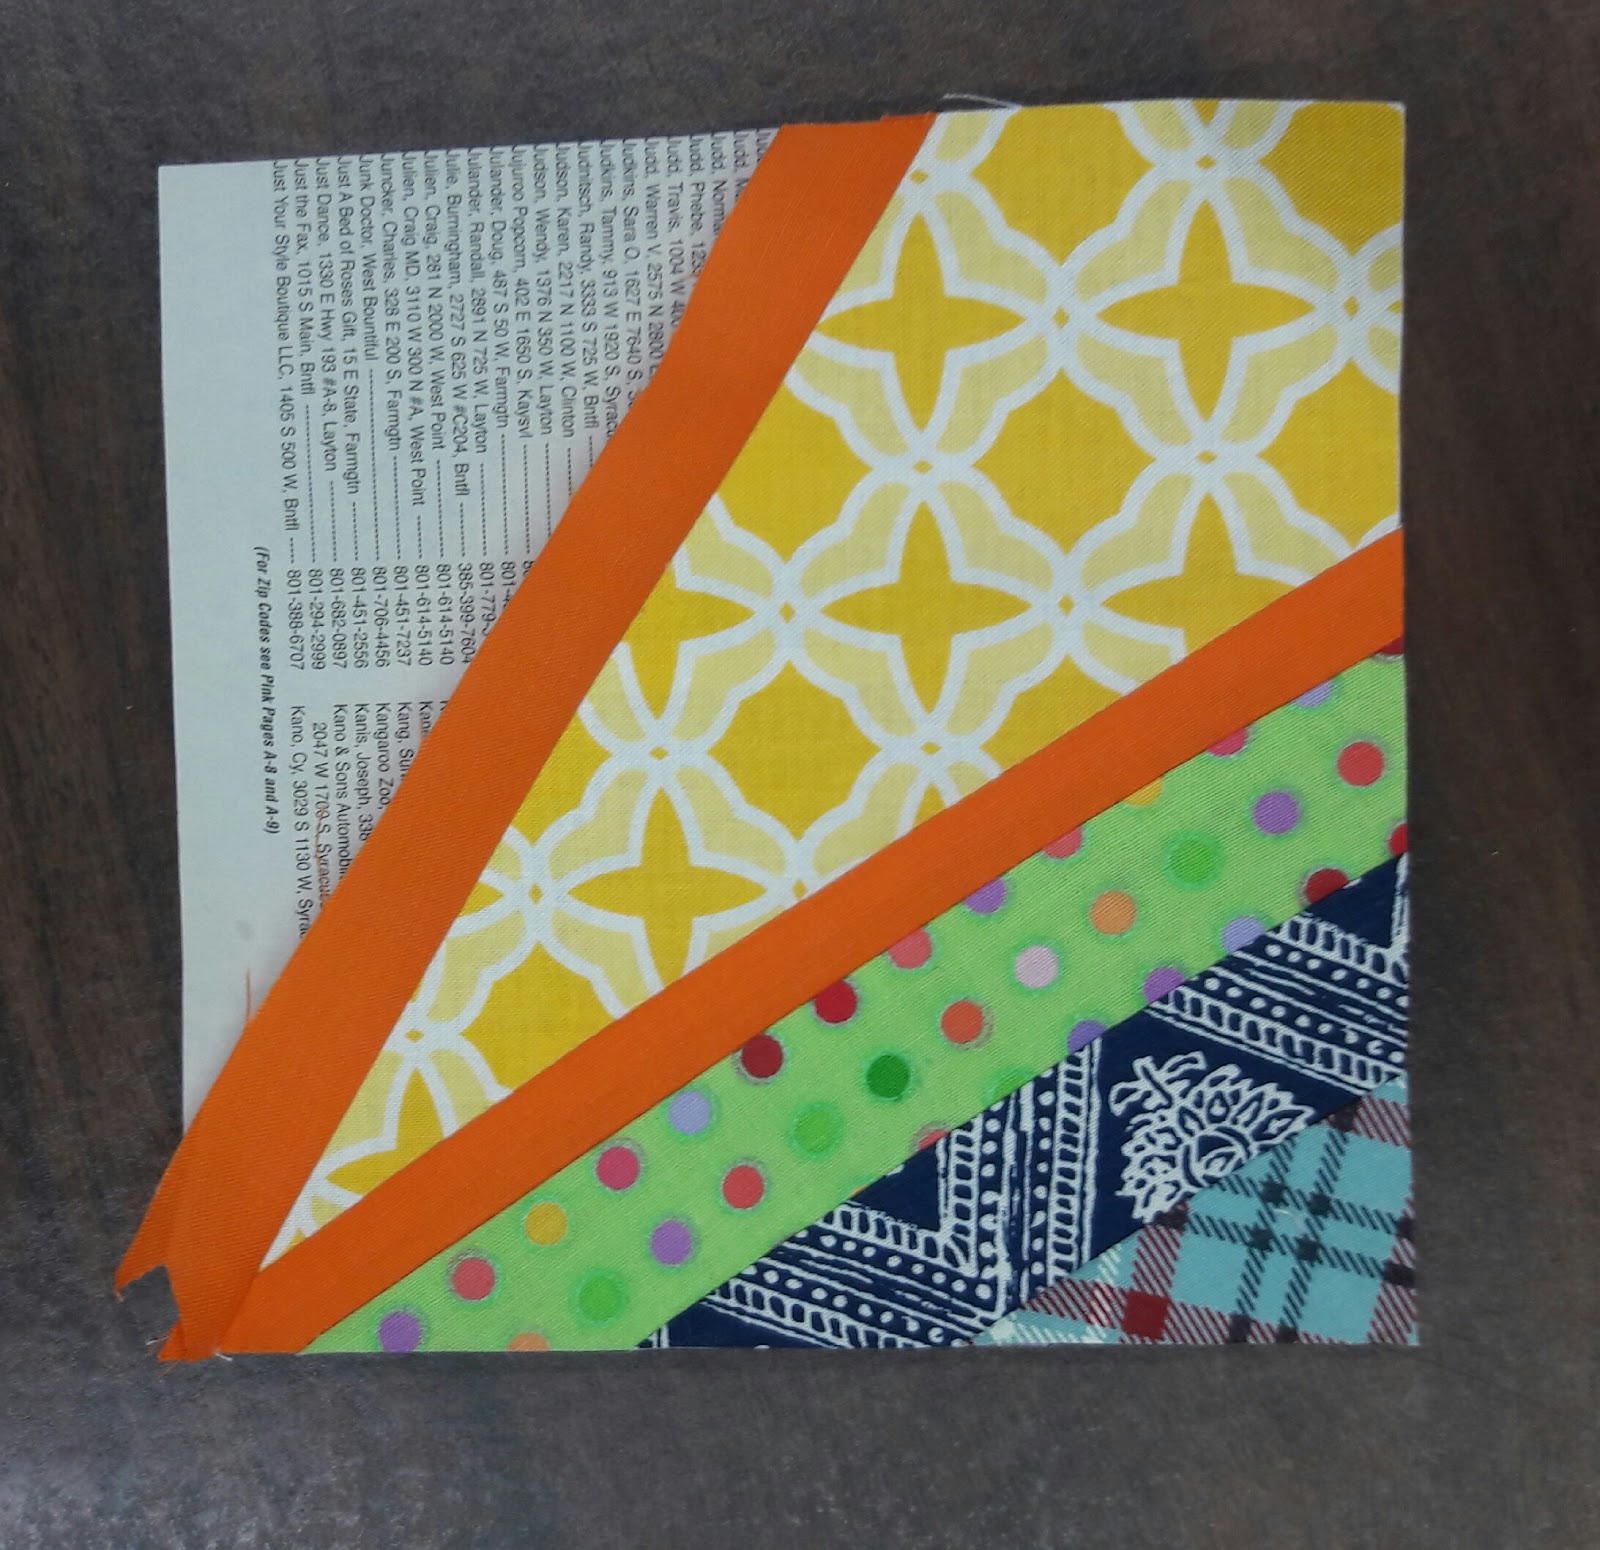
Repeat this process on the opposite side.
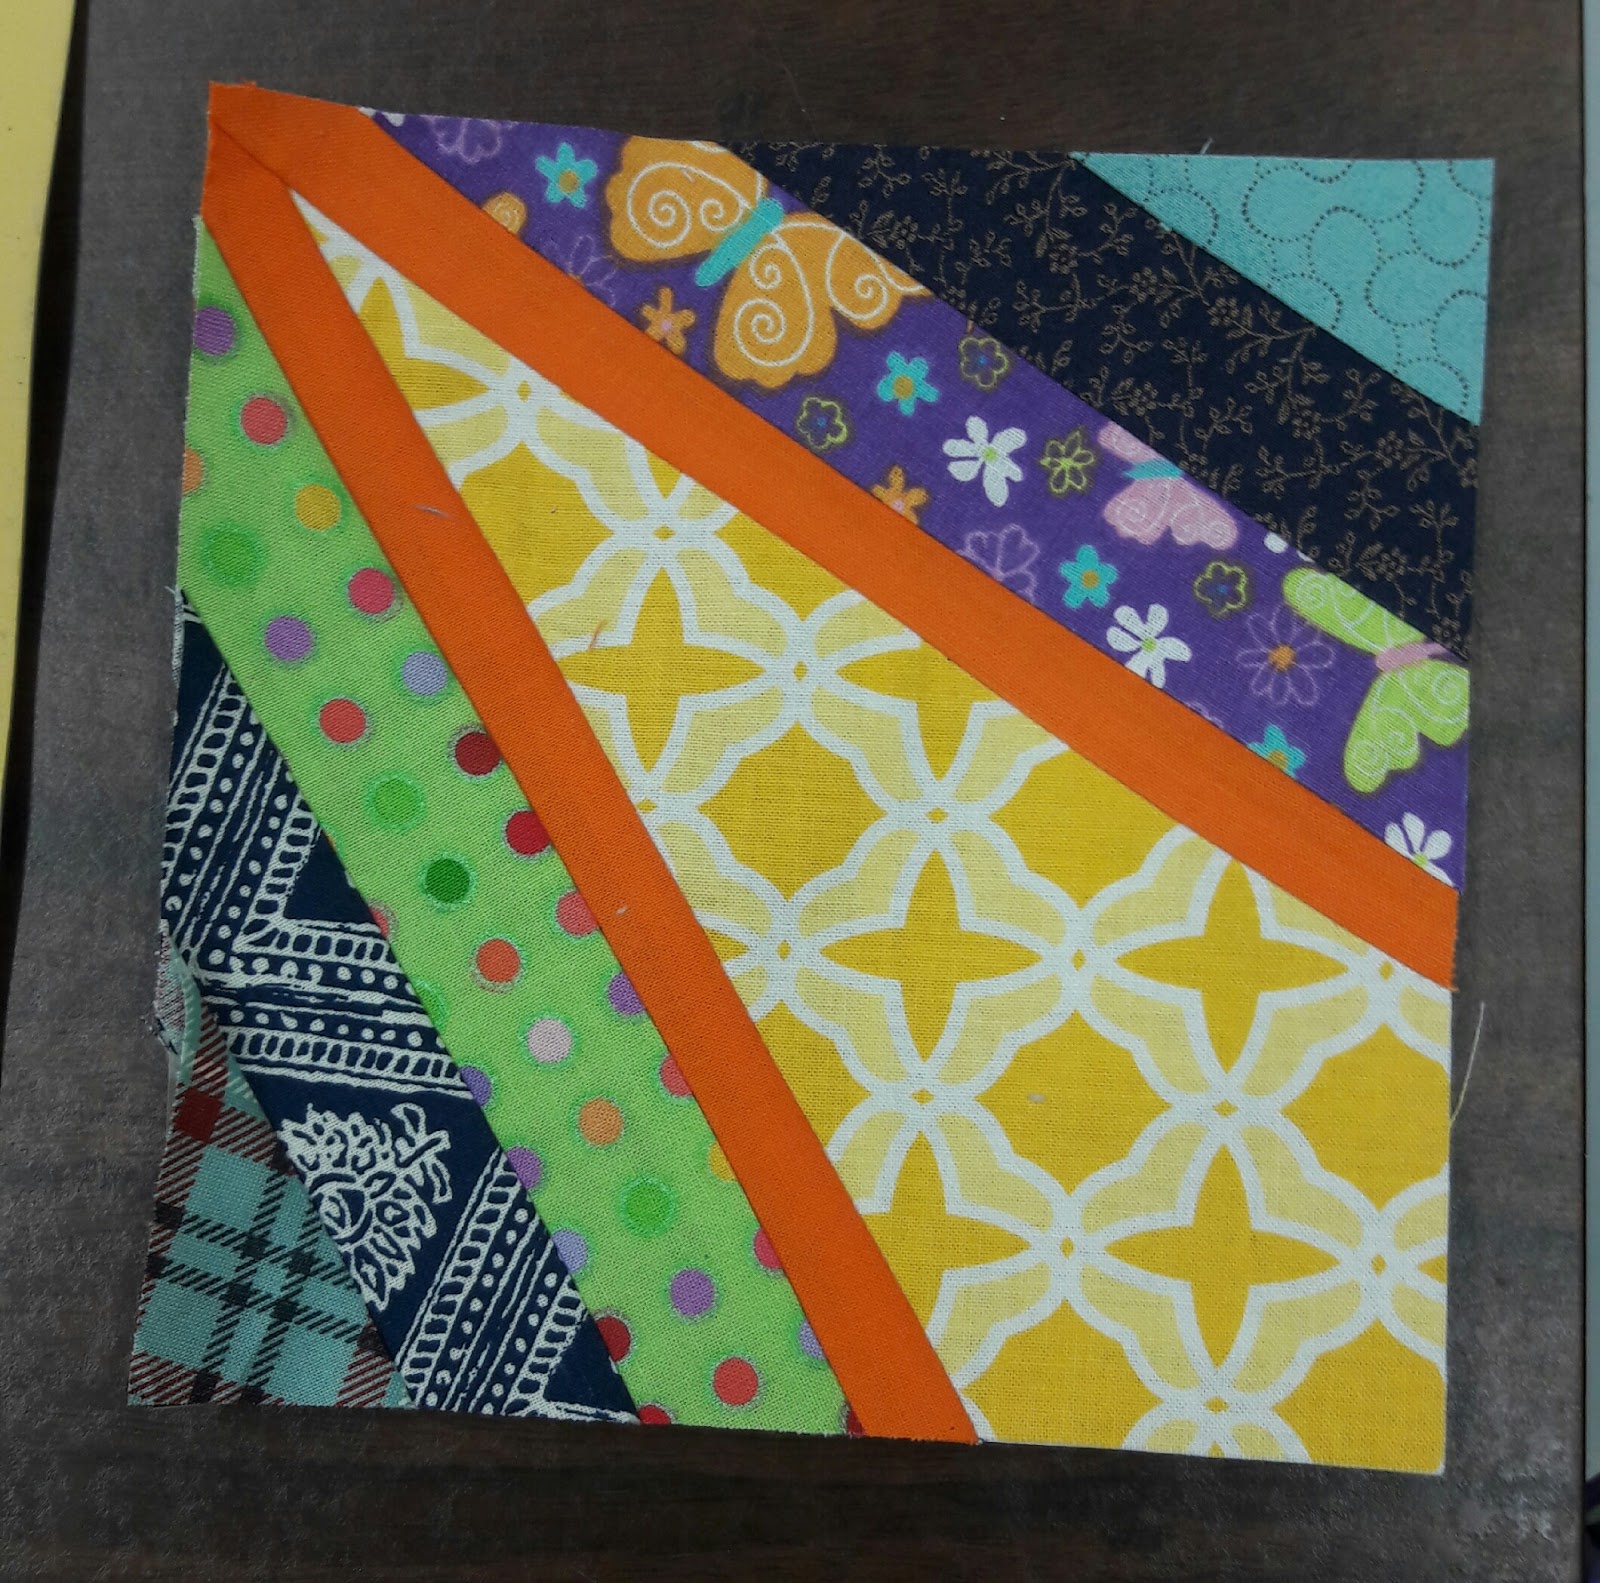
Continue making blocks until you have reached your desired size quilt. Vivian made her’s 8 x 12 with a wide border. I’m planning on 10 x 12. without a border.
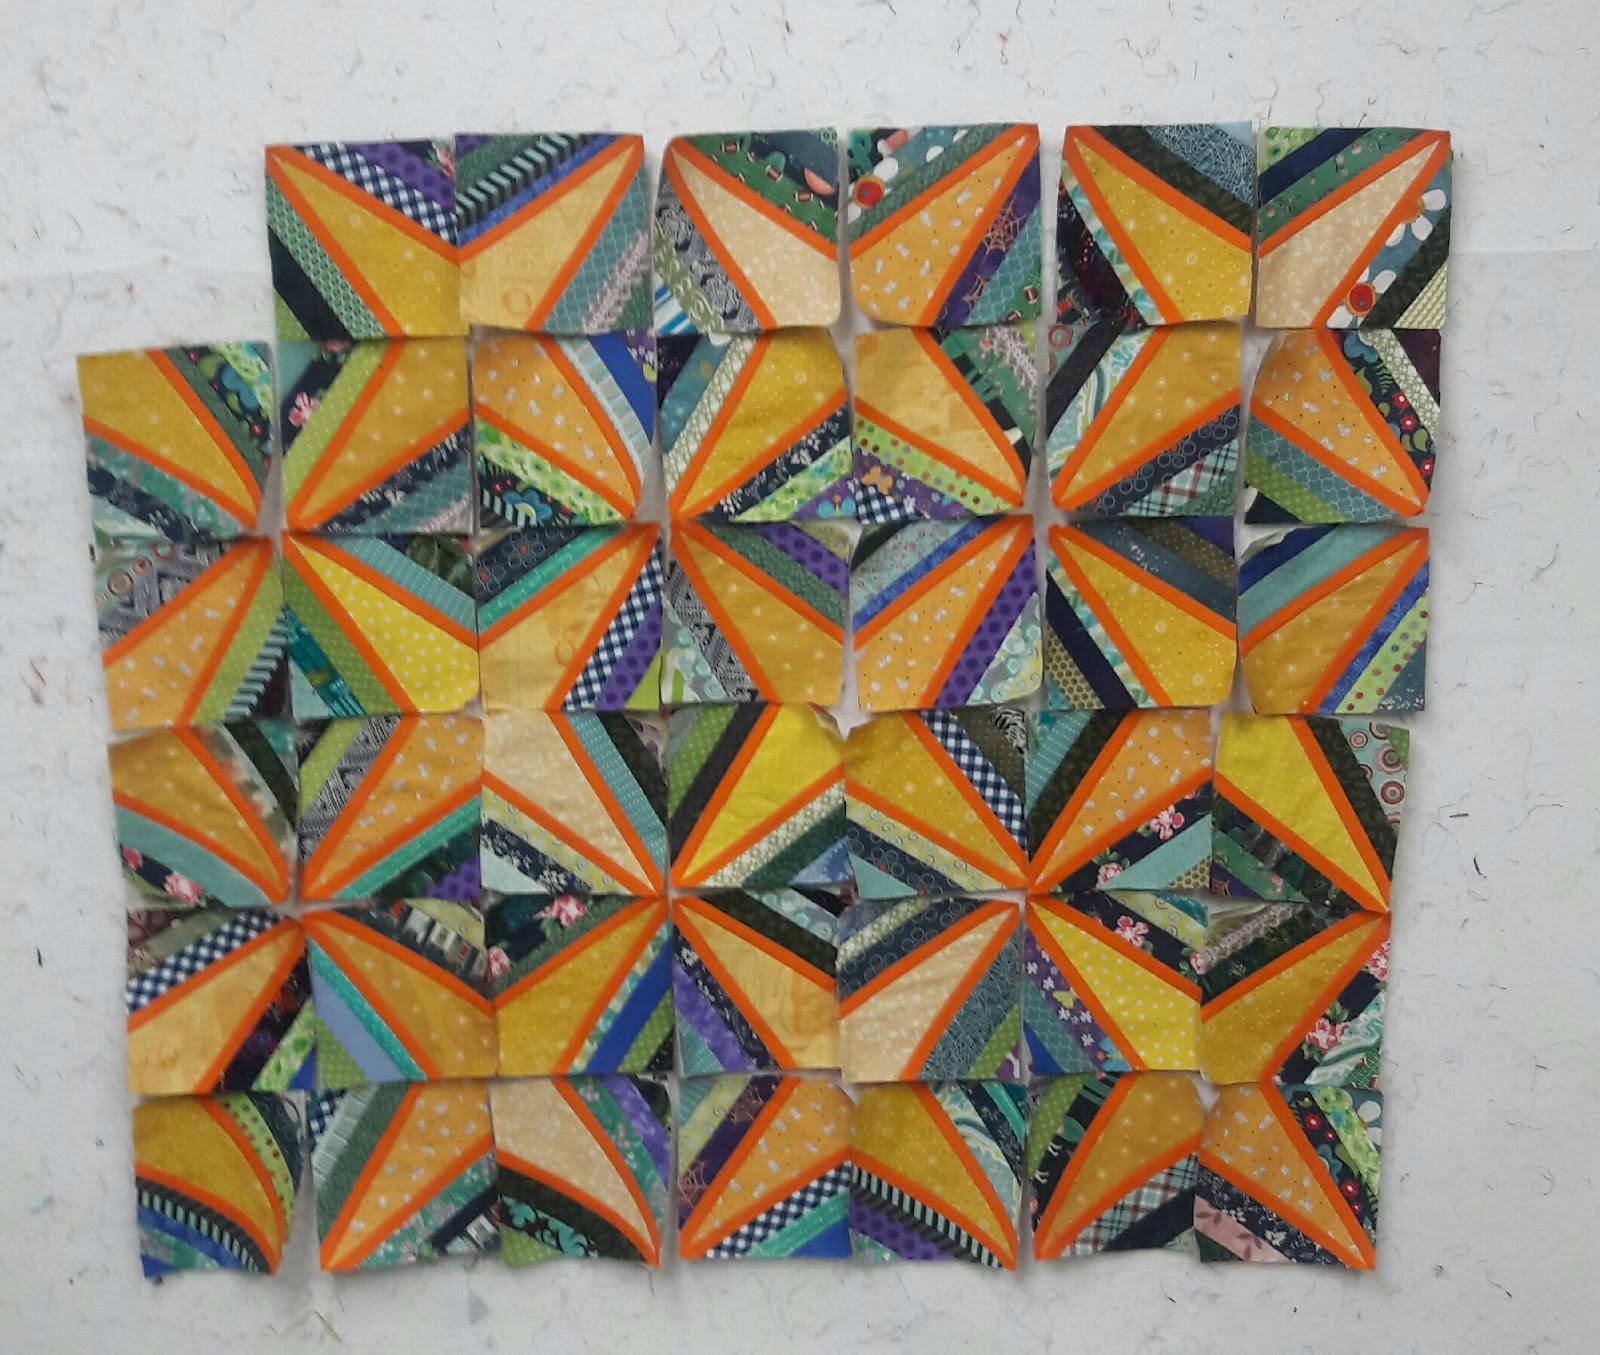
So I’m about a quarter of the way there. Now that you’ve seen my progress, I’d love to see yours. Link up and share what you are moving forward.

