fbpx Skip to main content

Scrappy Quarter Log Cabin Quilt Tutorial

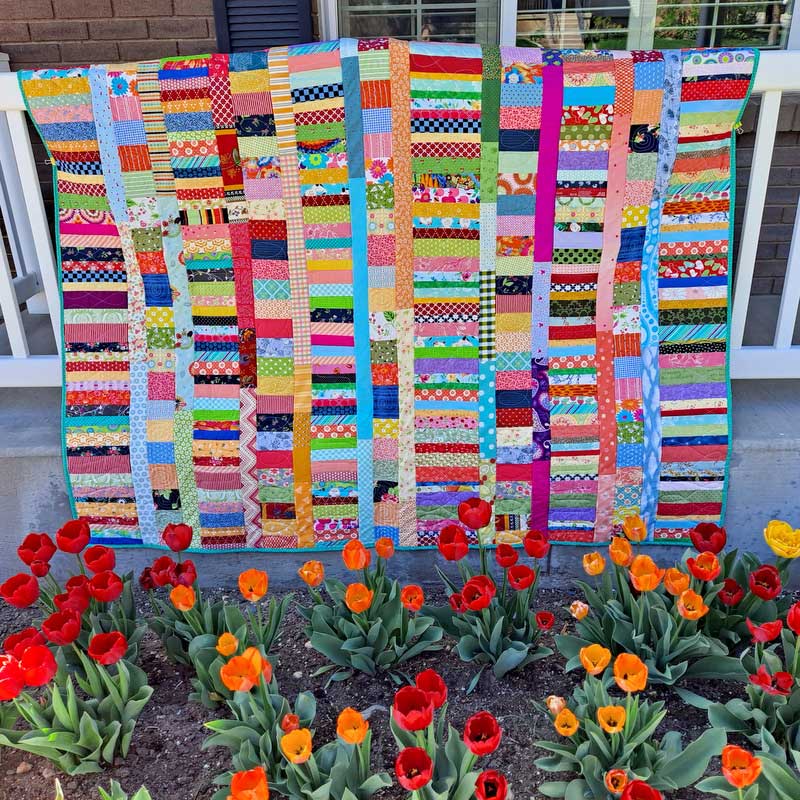
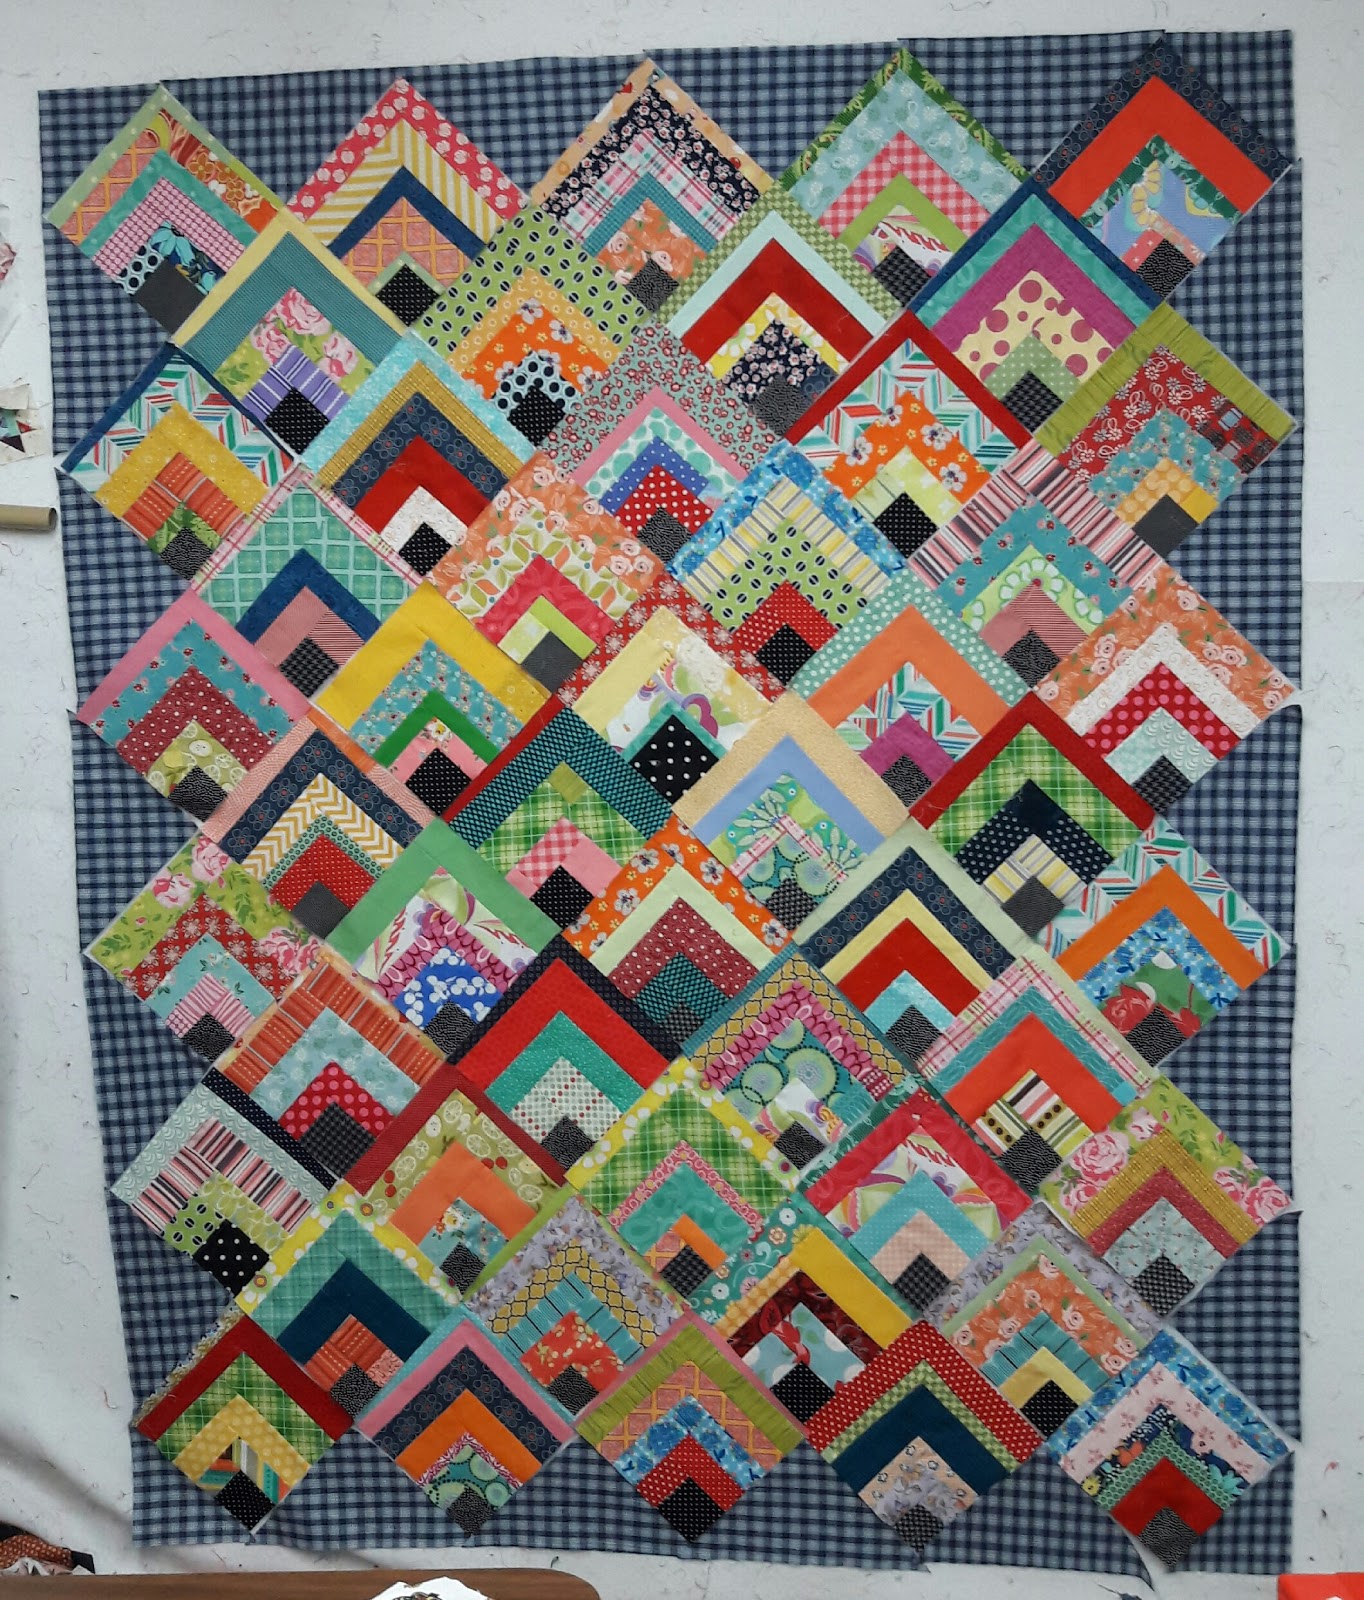
As promised here is the tutorial for the scrappy quarter log cabin quilt. 

Start with a square. I cut mine off strips that were in the random strip bin I’ve been trying to tame. I used different sizes ranging from 3″-2″
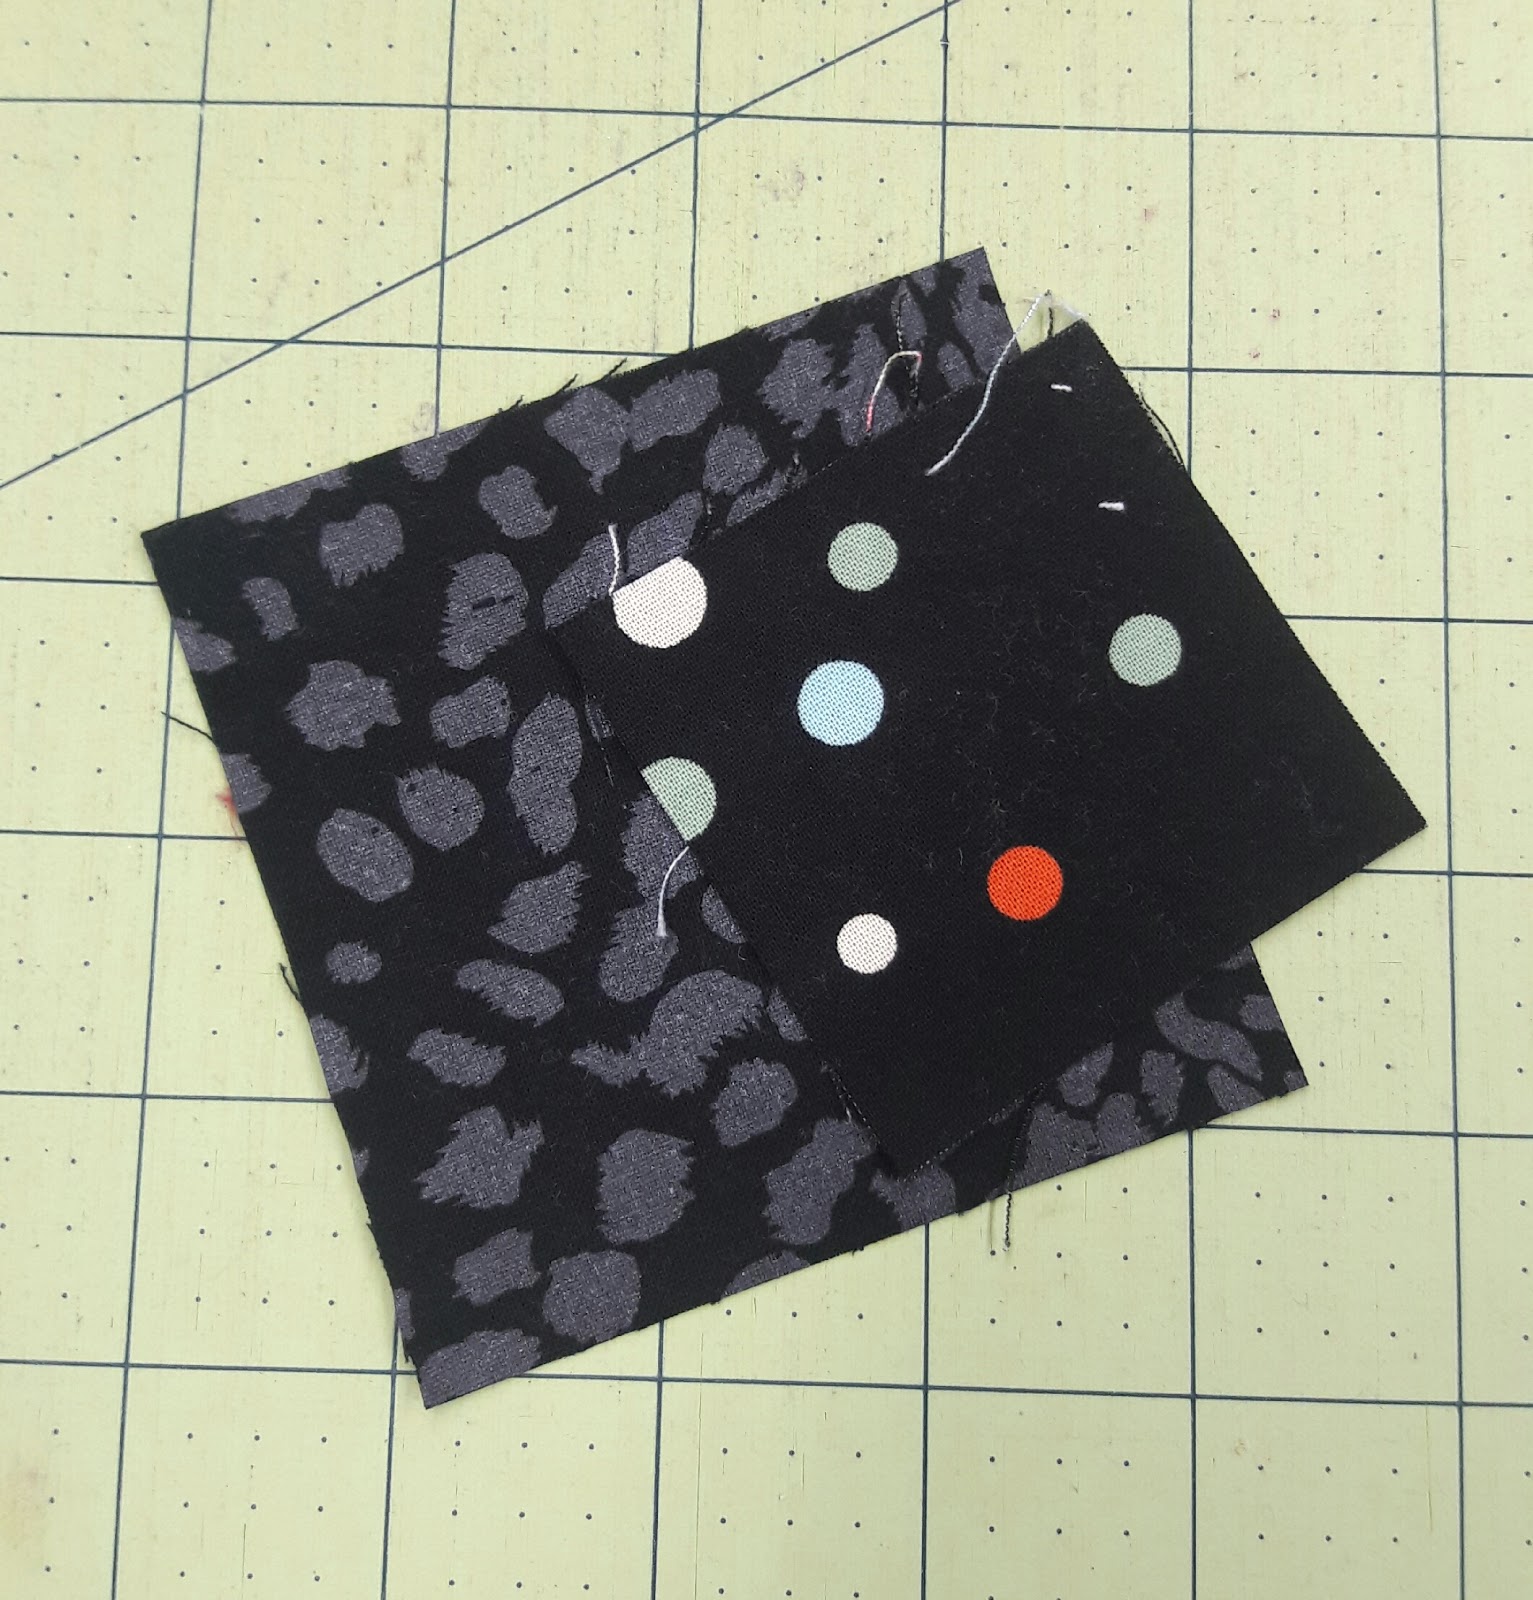
 Sew a strip on to one side, press toward the square.  Trim to be even with your square.
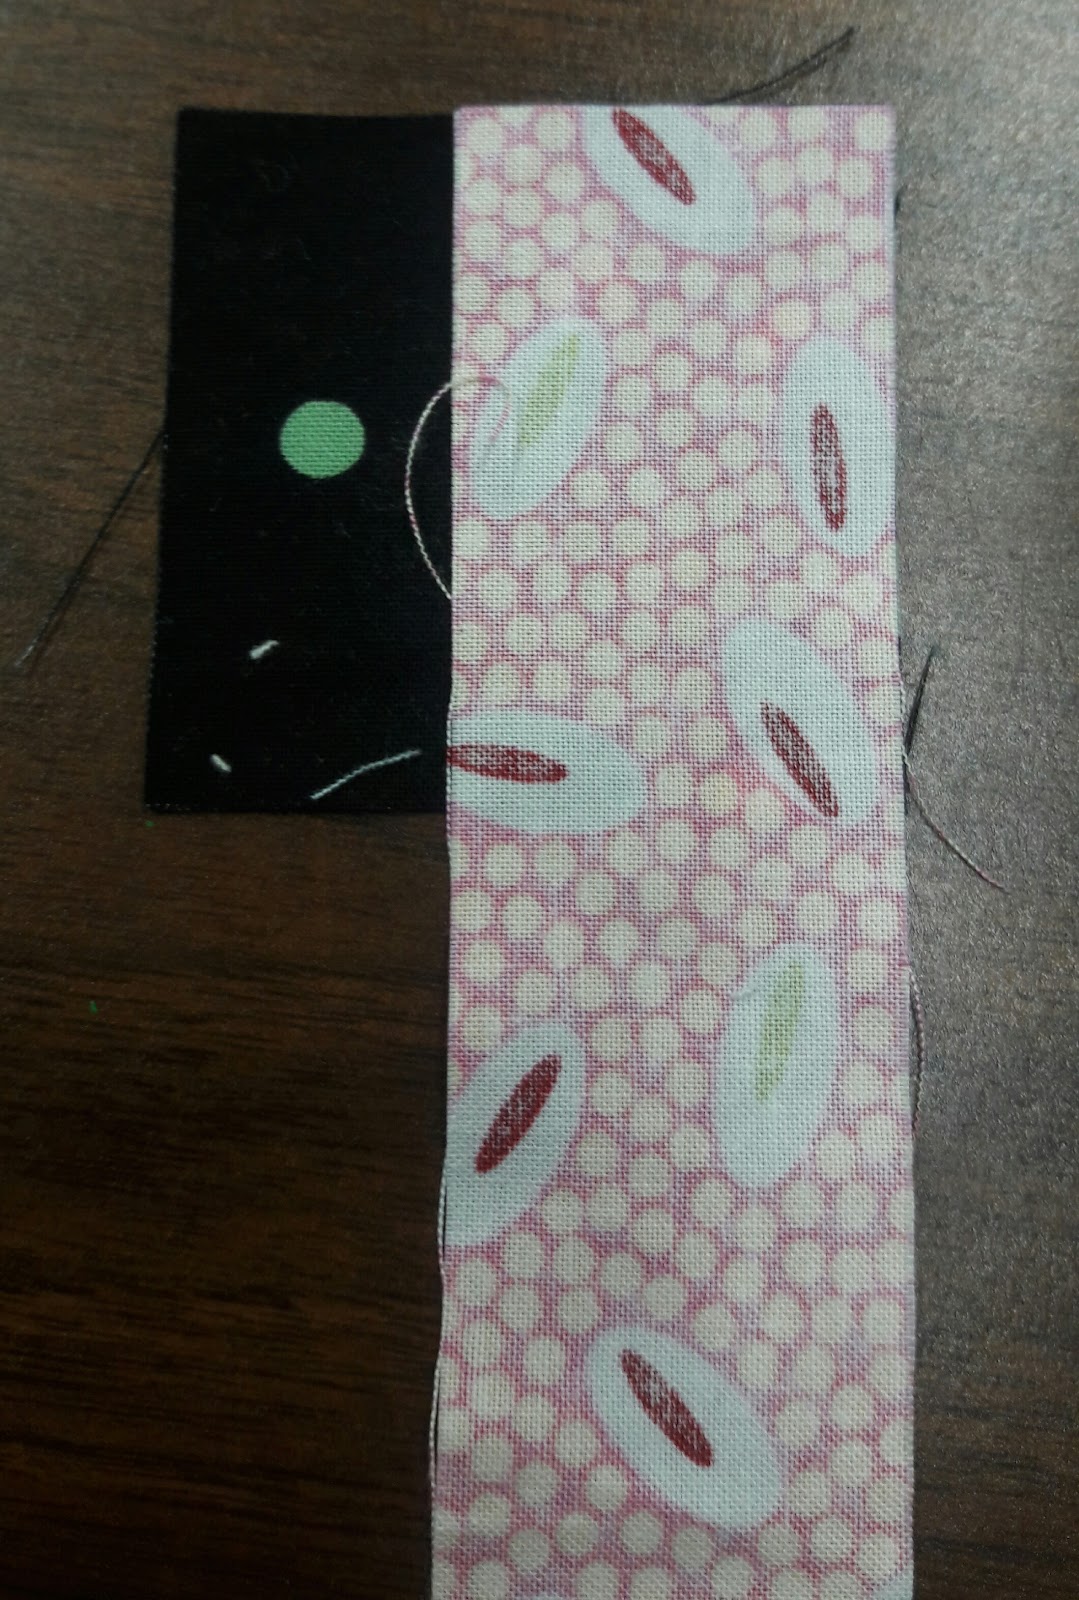
 On the adjacent side sew more of the same strip. If my strip was not long enough I sewed a similar color fabric strip to it and had a pieced log. You decide if you want it that scrappy. Once again press and trim.
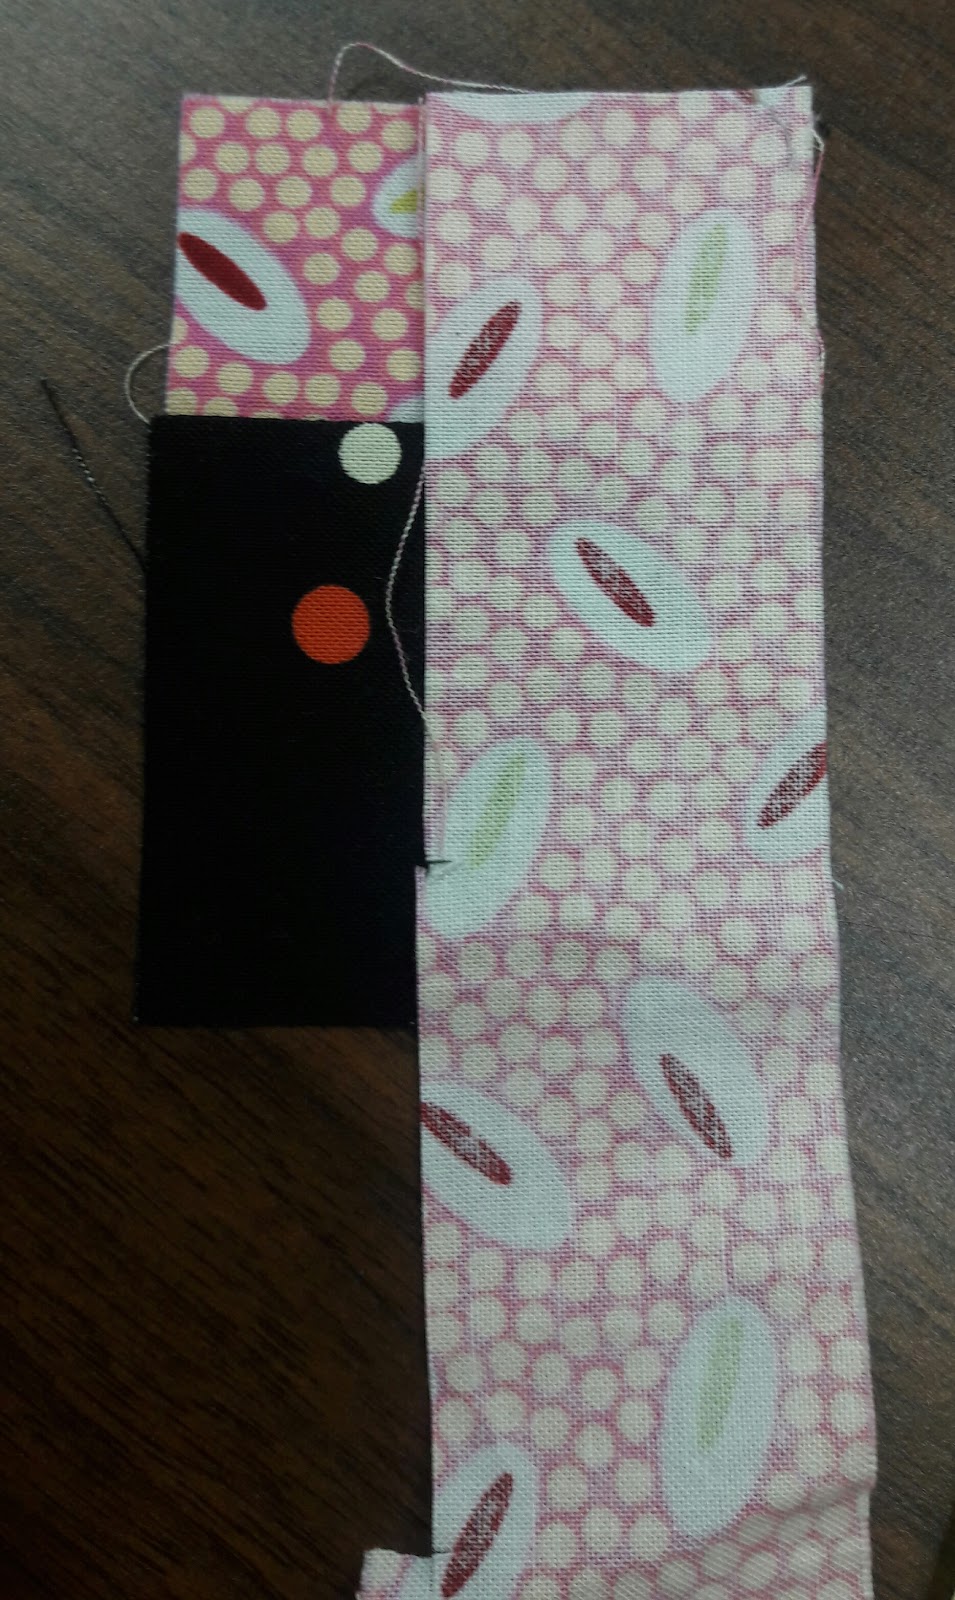
 Choose another strip   
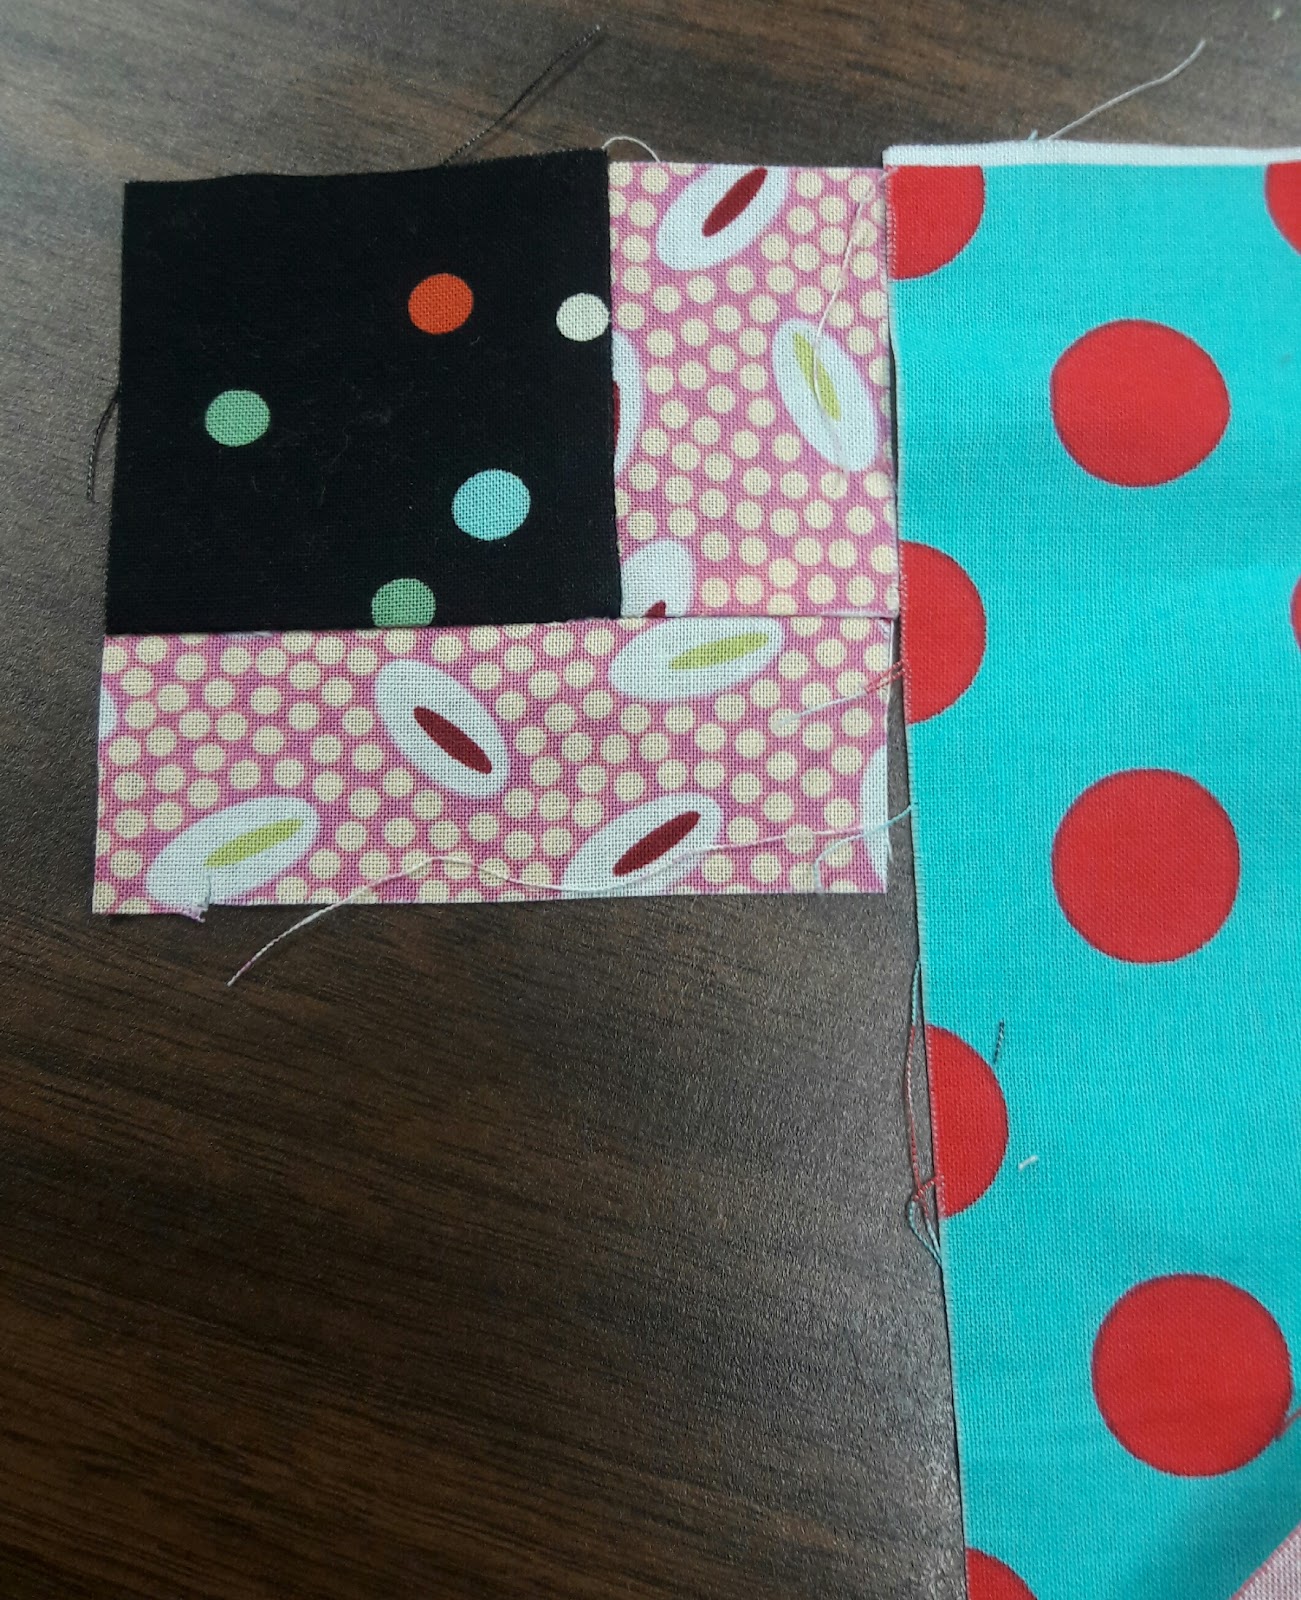
 sew it next to your first log. 
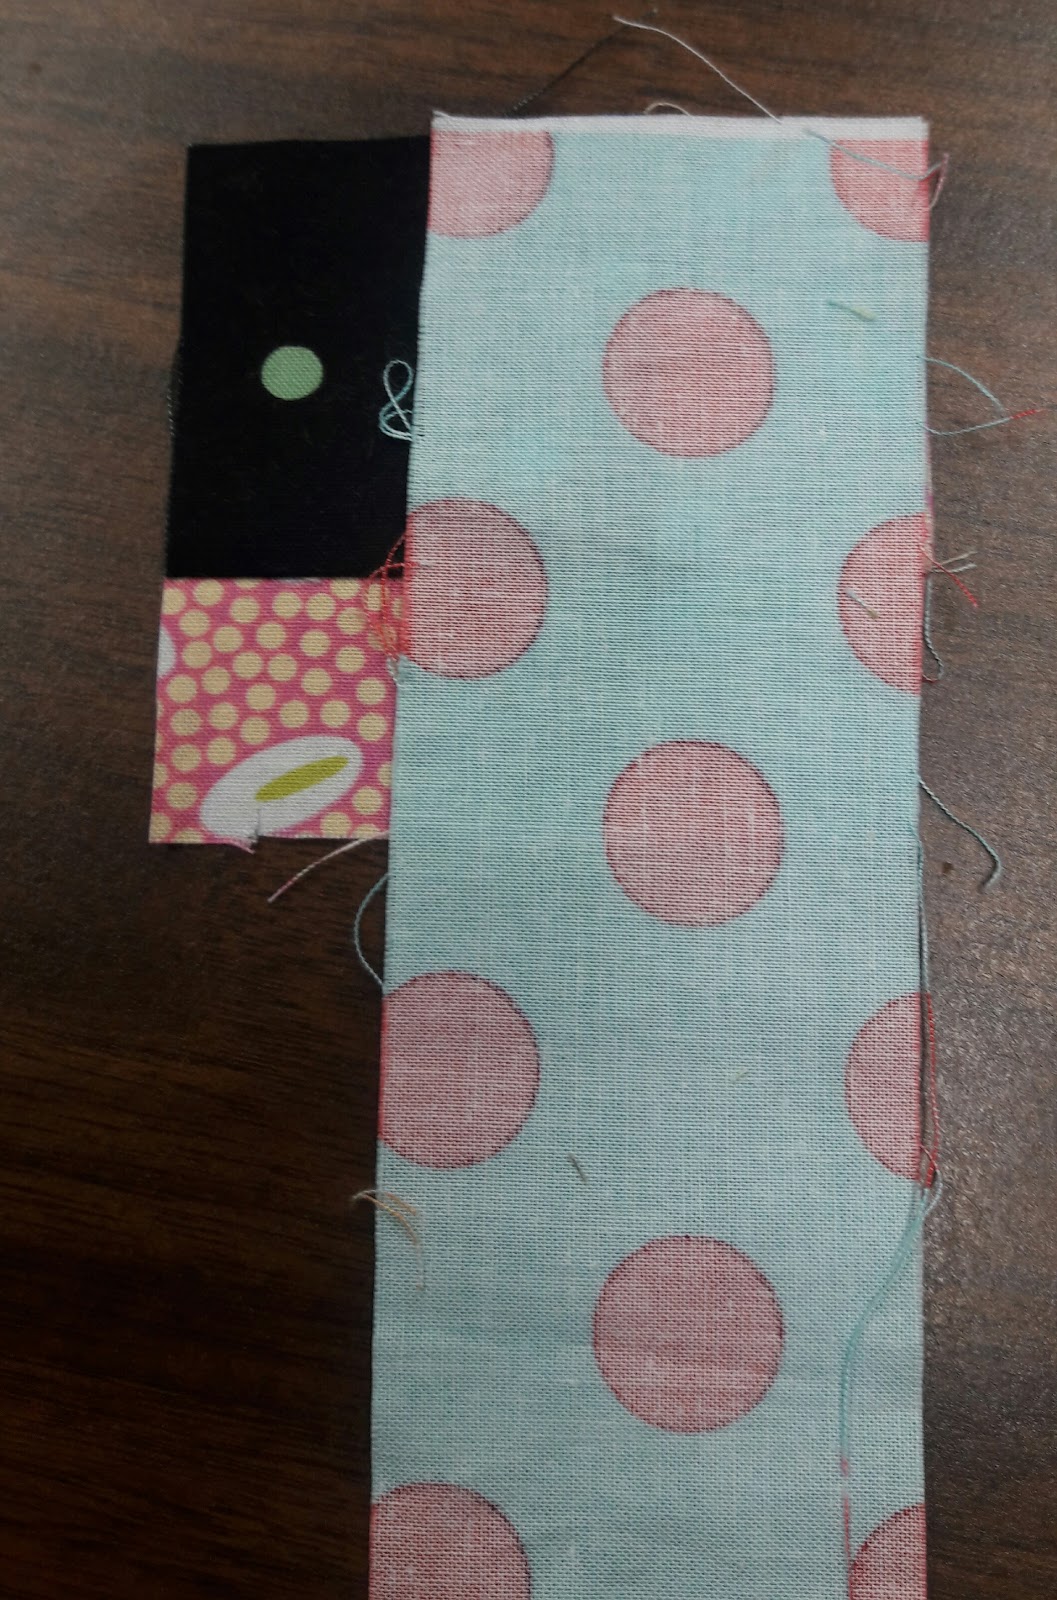
 Once again press and trim.
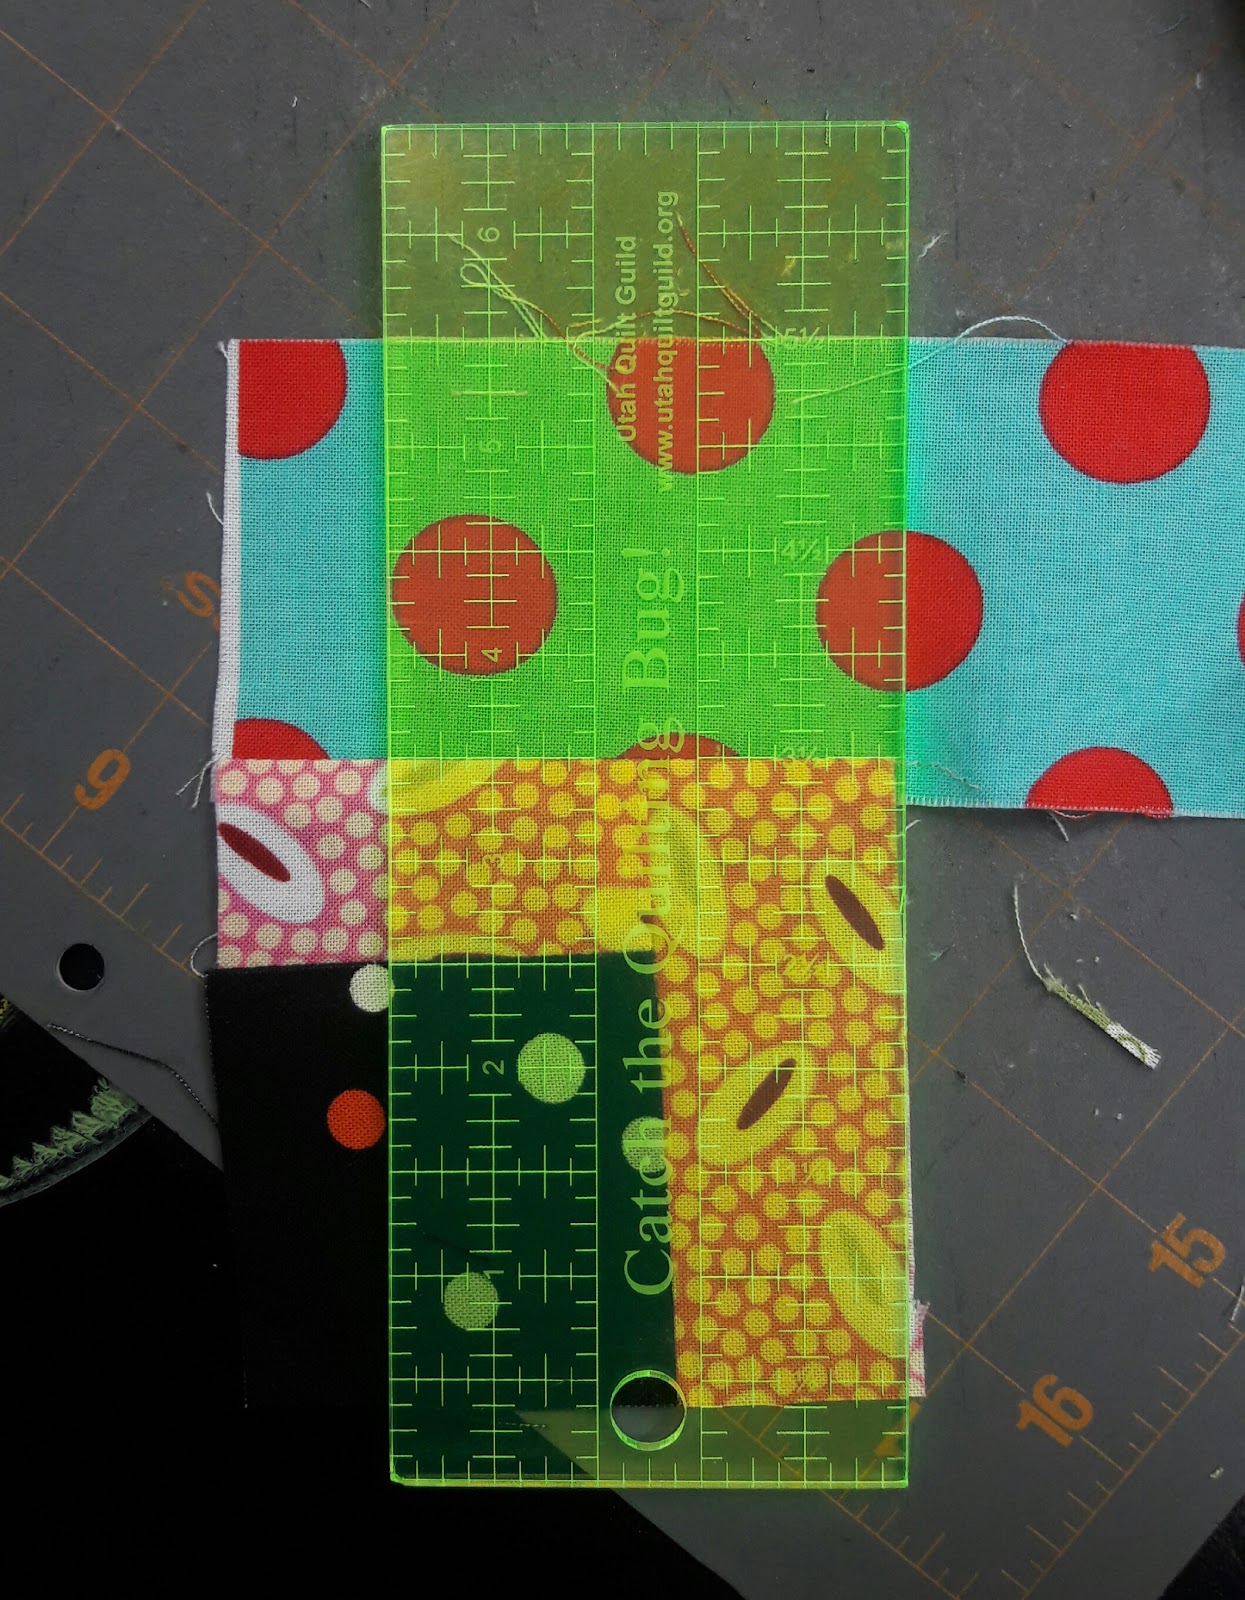
 Next sew more of the same strip to the side with your second log. Press and trim.
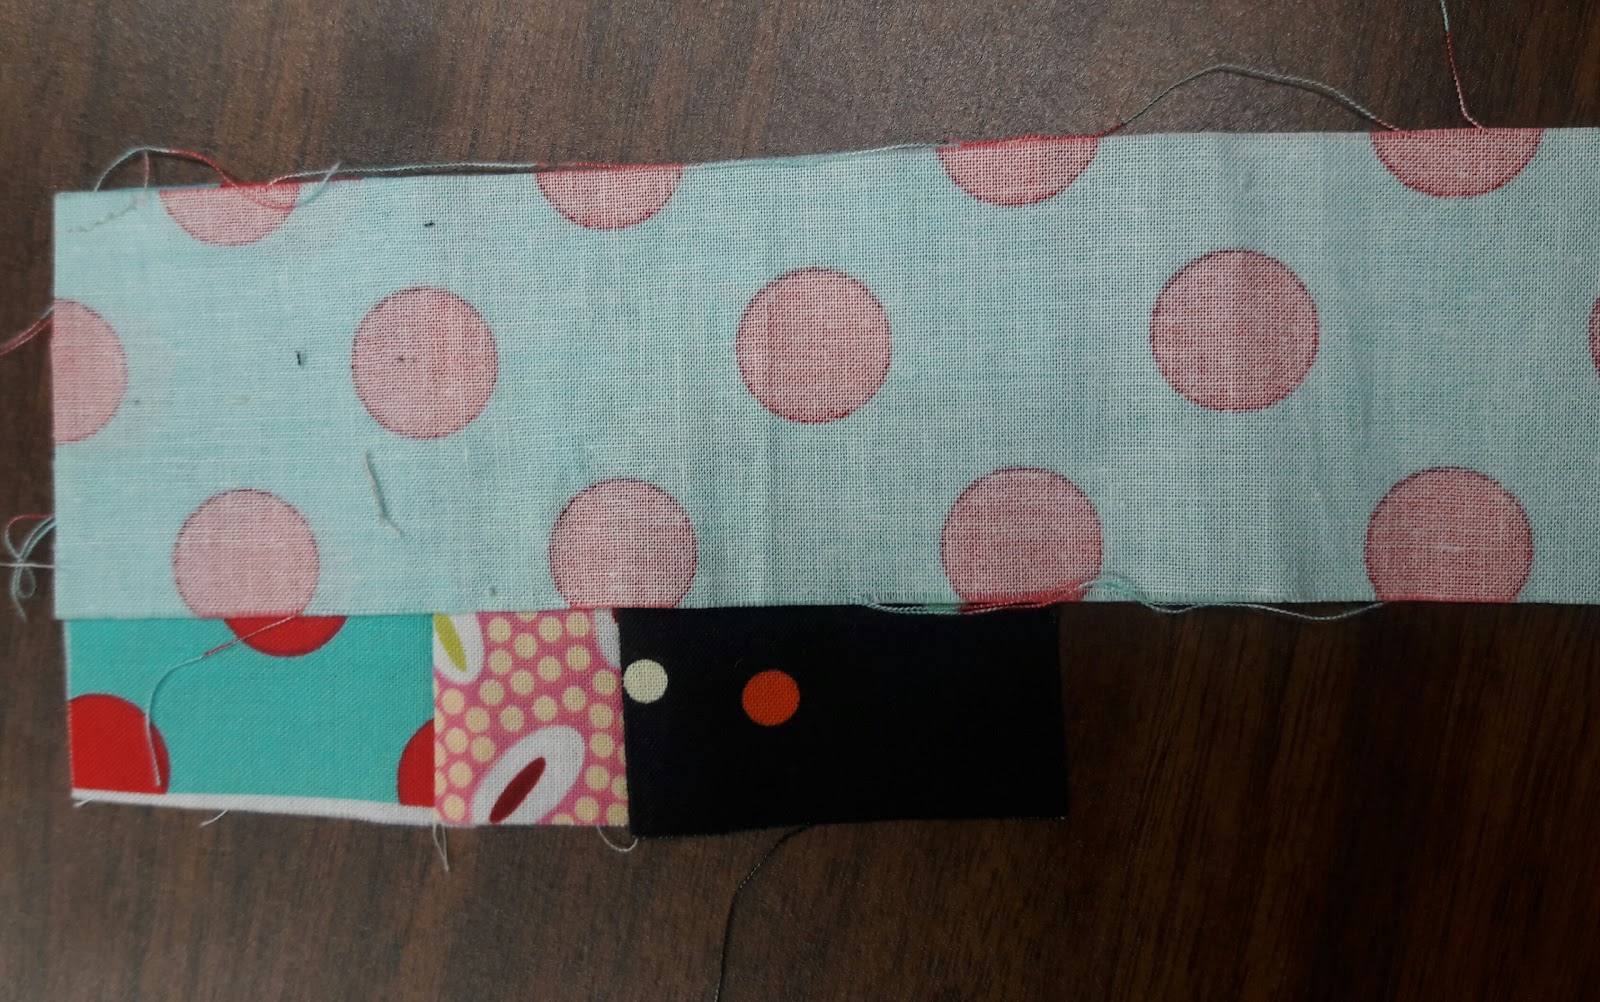
 Repeat this process until your block is about 9″ square. Then use a ruler to square up your block to 8 1/2″
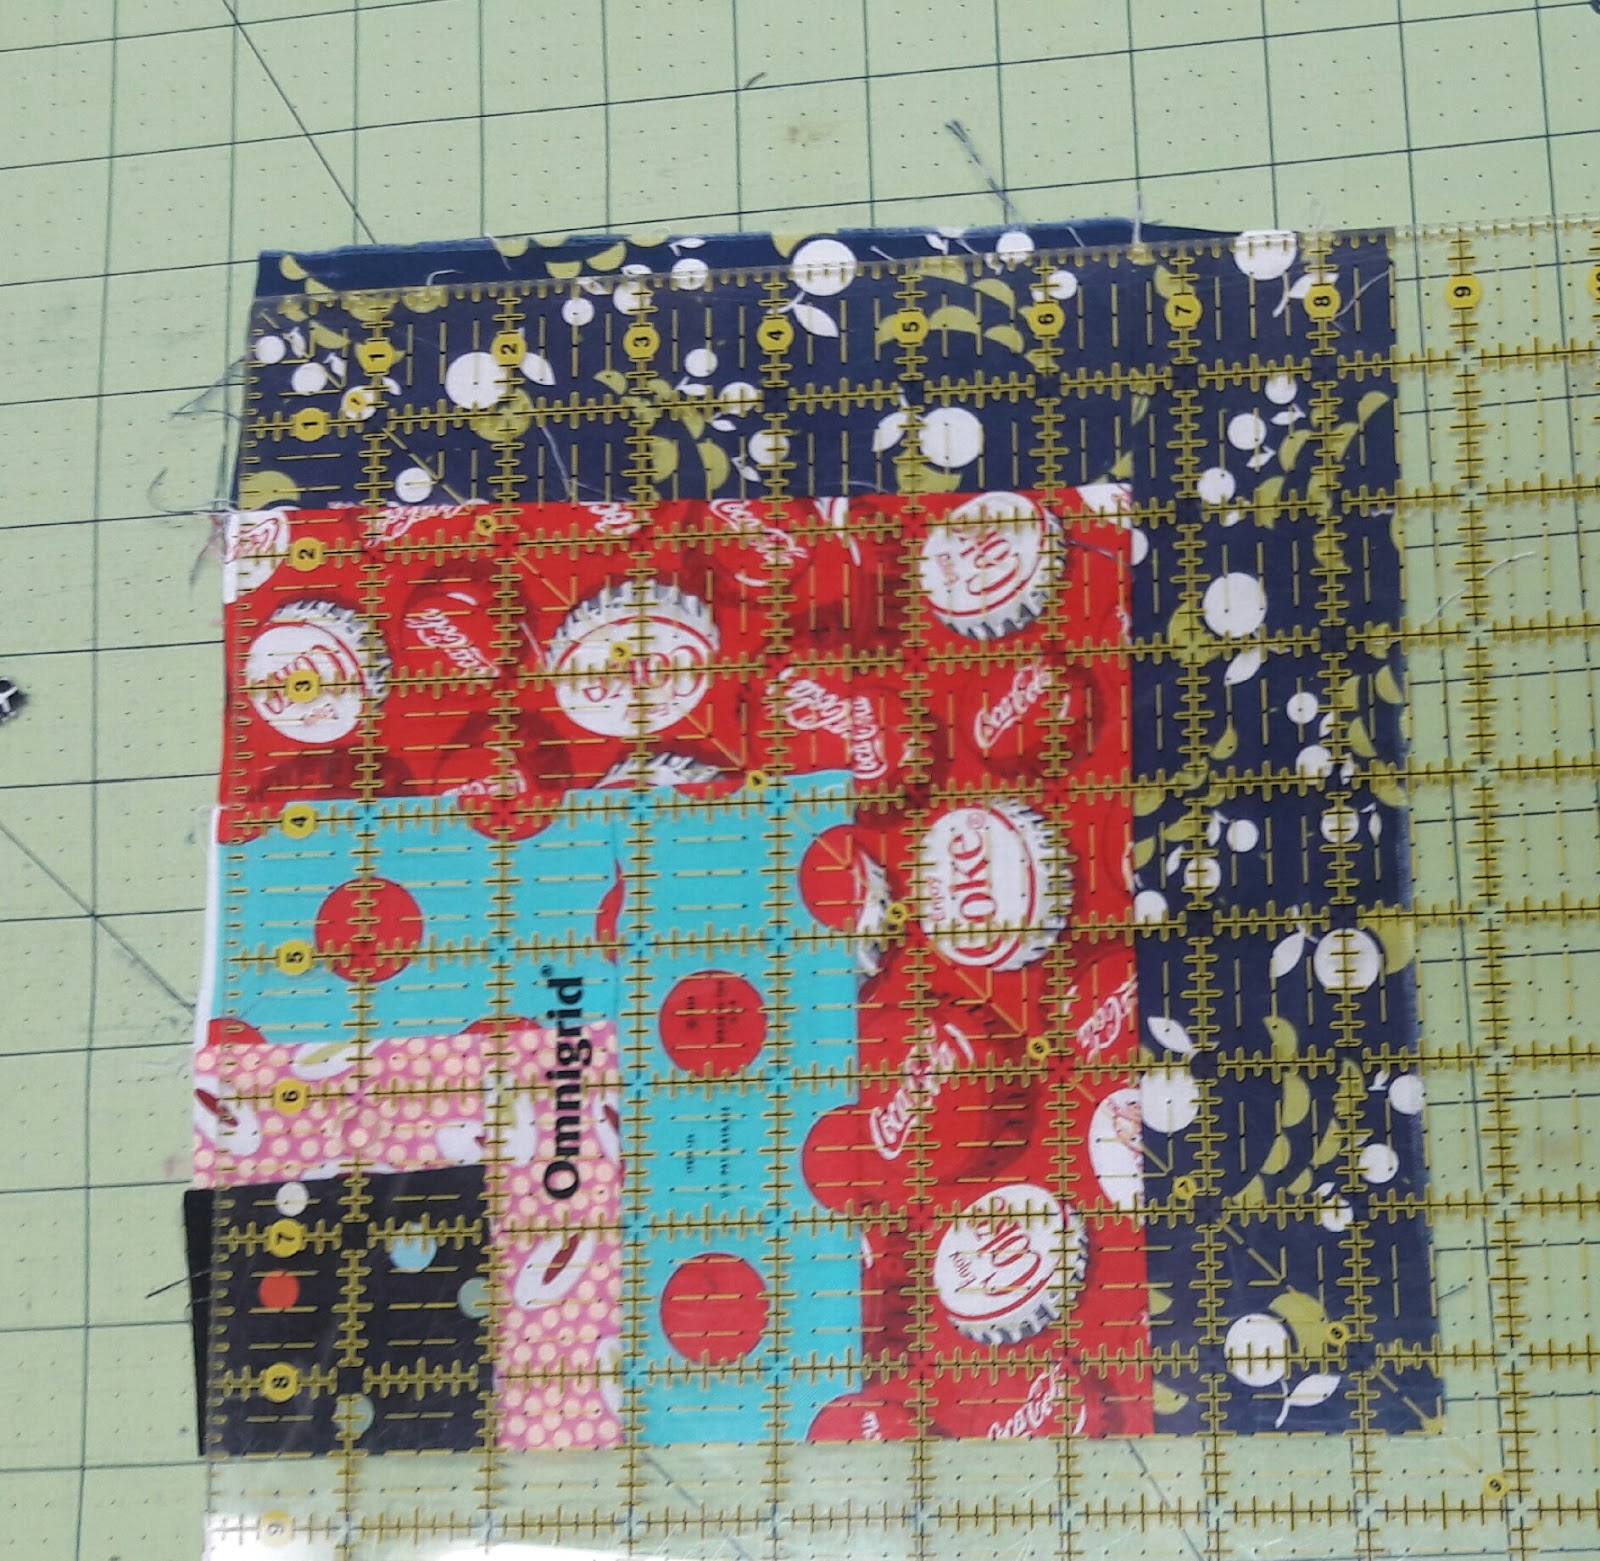
Ta Da you have a block. 

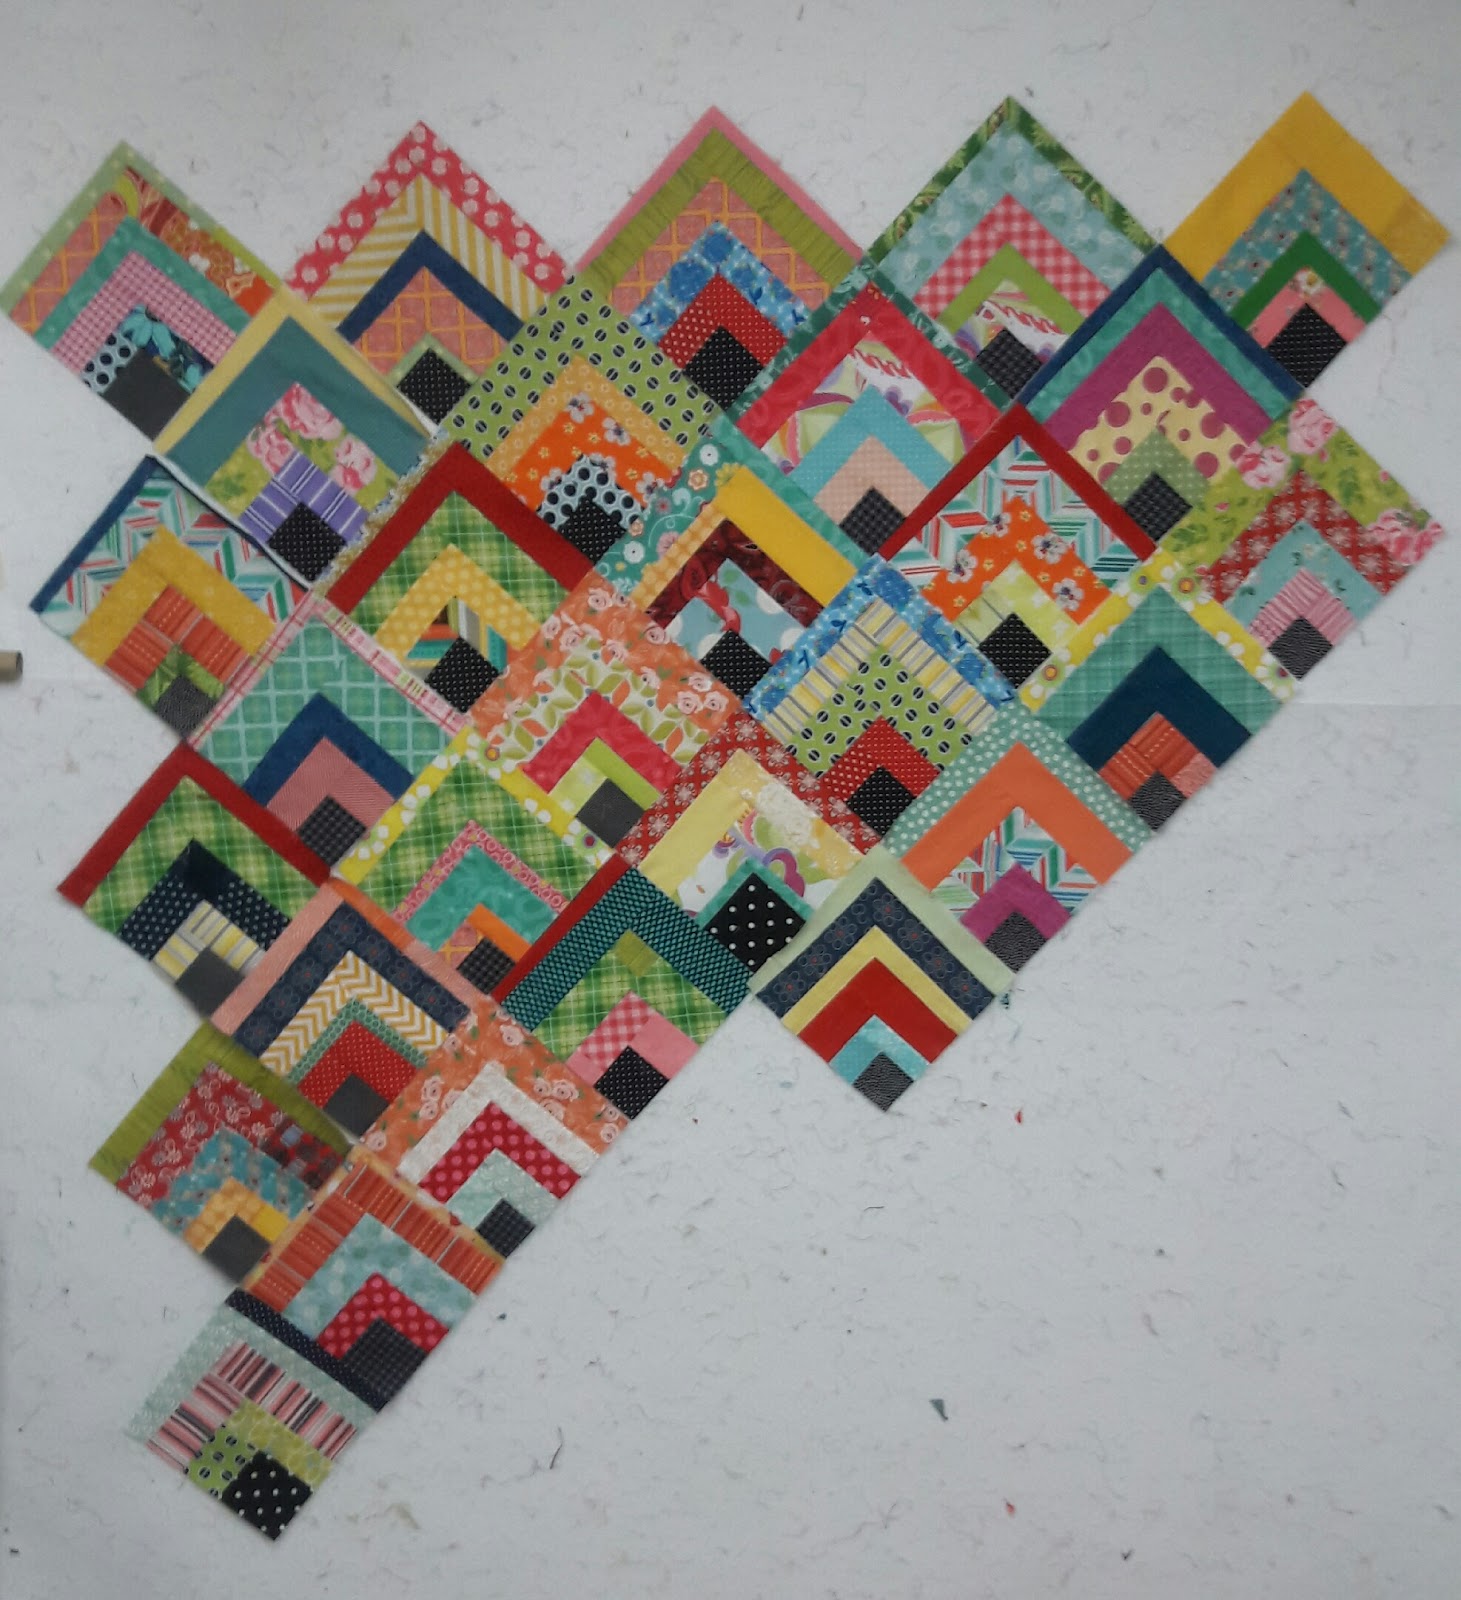
 Make many blocks. I made 50 and it still didn’t use up all my strips.
For the setting cut a 12 1/2″ square from your setting fabric. I used 5 of these.
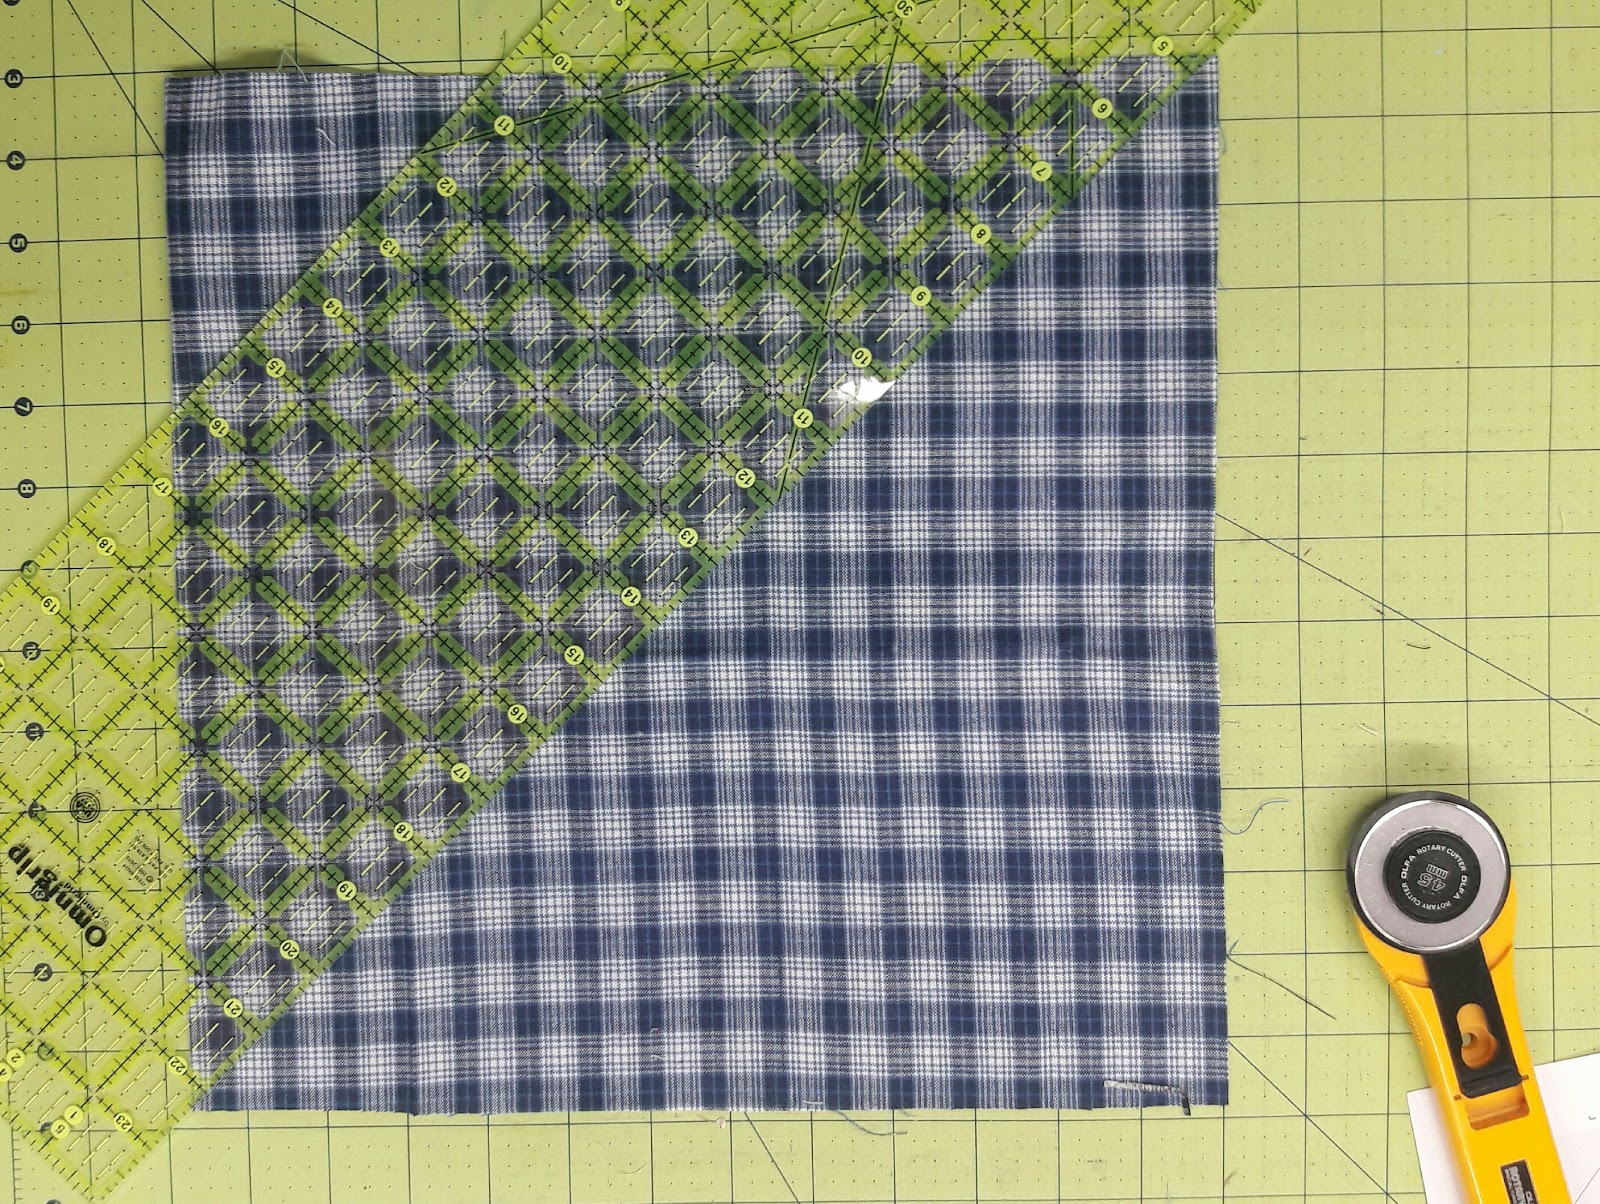
Cut it on the diagonal twice. You will have two leftover. I found if I cut those in half they worked for my corners. I know technically I should have cut two 6″ squares and cut them on the diagonal once. But why waste fabric? 
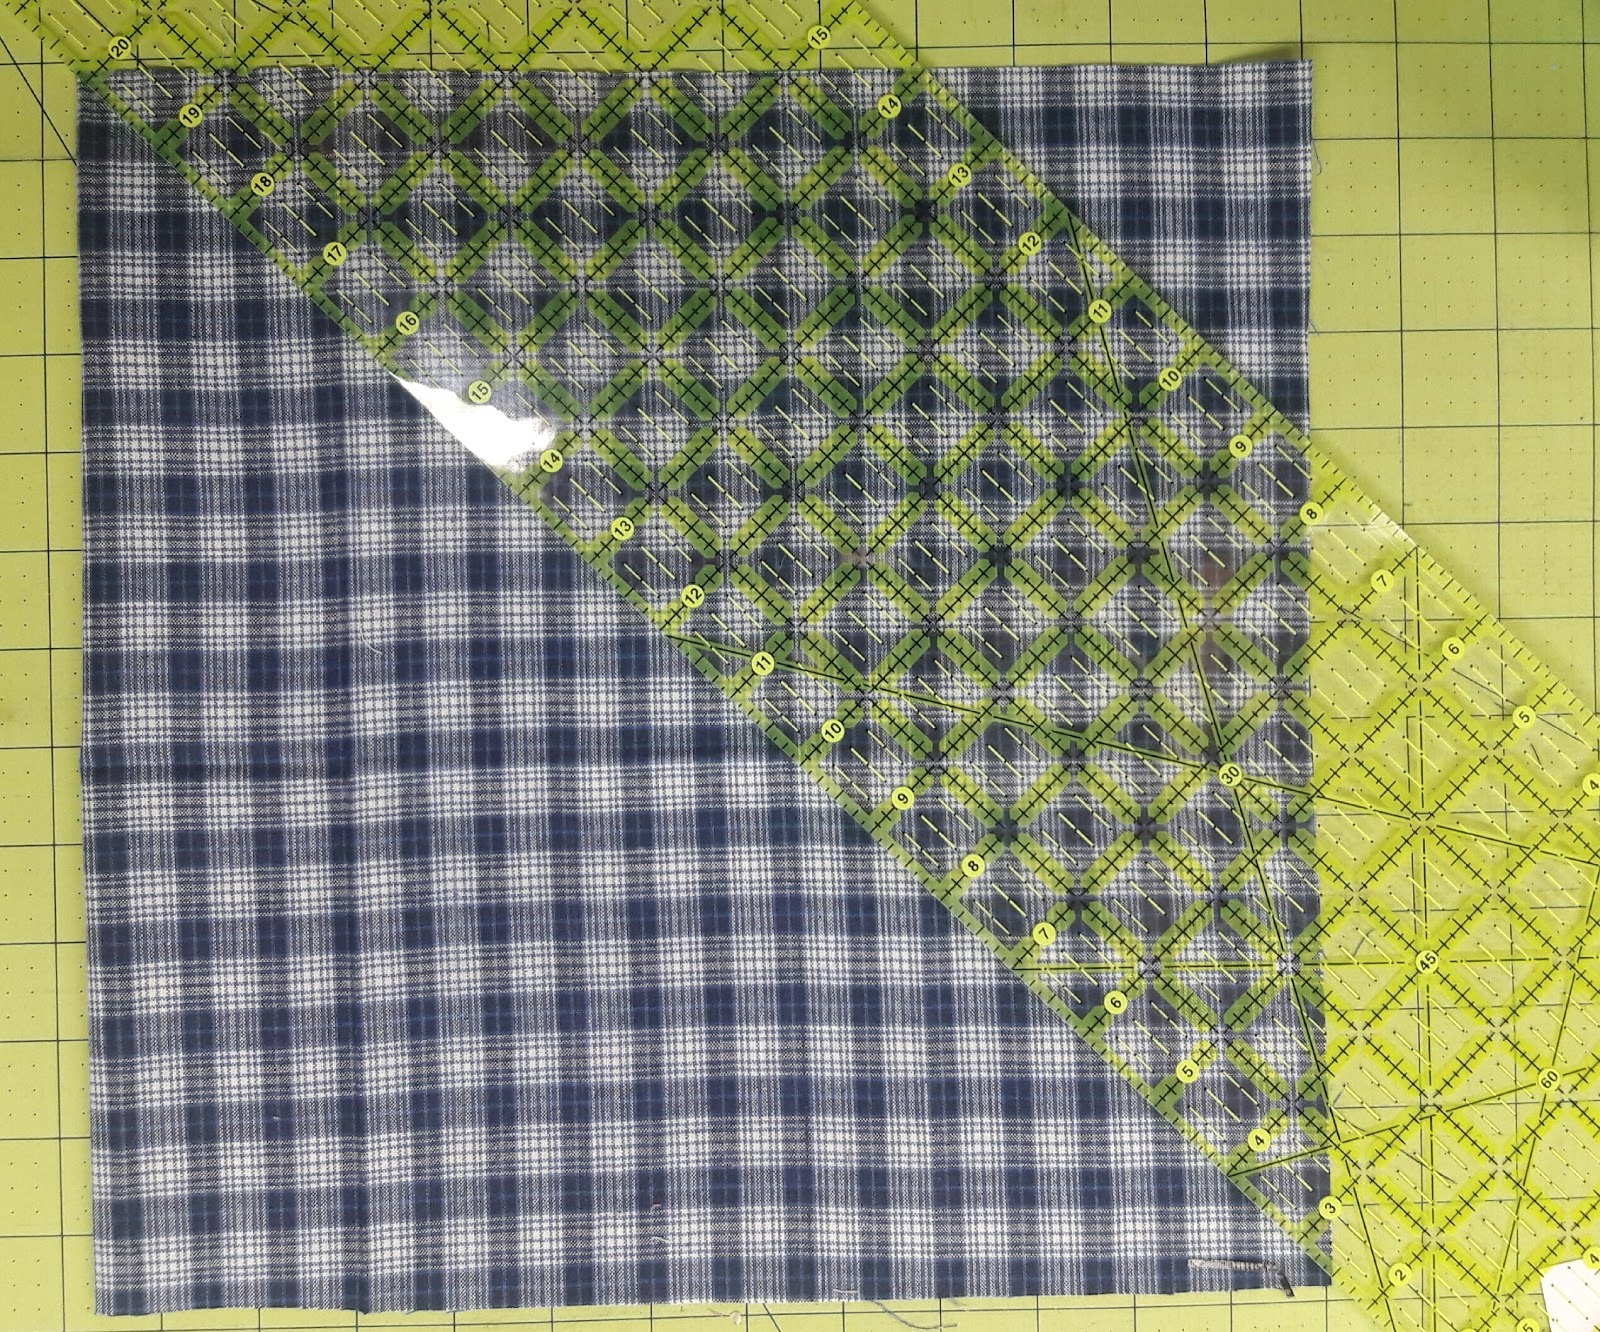
Place these around your quilt to finish edges and sew in diagonal rows. 

If you prefer I have a video tutorial.  Also if you want to change the size of your blocks there is a tutorial here to help you figure out your setting triangles. Hope this helps you. Let me know if you have questions. Enjoy your 4th!

16 Comments

  • Linda @ kokaquilts says:

    Love this! I've made a couple of scrappy 1/4 log cabin quilts, and always been so tempted to set them like you have, maybe next time.

  • Susan says:

    This is great. Have wanted to make it for a long time, now I will start to gather my strips and get to work. Thanks so much for the tutorial!

  • Quilting Babcia says:

    A nice easy tutorial, so good for beginning quilters. Just knowing the size of the starting squares and the finished blocks is so helpful. Thanks for sharing.

  • Needled Mom says:

    Love it!!

  • Barb Neiwert says:

    What a fun way to use up those scraps! Your quilt turned out so well!

  • sadie says:

    How much fabric is needes for the setting triangles.

  • Unknown says:

    Fabulous.

  • em's scrapbag says:

    3/4 yard

  • Katie says:

    Looks easy enough! My favorite step? "Make many blocks"!!! We'll see if this squirrel makes it into my sewing room…

  • audrey says:

    Such a good way to do log cabin blocks, sew along with approx. sizing and then trim up to the proper size at the end. Some day I am going to make one of these in this presentation myself! What a great looking quilt!

  • sadie says:

    Thank you very much. I have been looking for something nice to do
    with. scraps.

  • Lynn says:

    An inspirational tutorial. And a squirrel for me, got 8 blocks done so far. Great instructions, just what size is the finished quilt please? Around 50 by 48??

  • sewyouquilt2 says:

    I have one of these I started years ago. So long ago it has colonial blues and mauves in it lol. I am going to set regular with a wide applique border. So easy and fun. Love yours!

  • ekquilter says:

    oh, started mine yesterday!

  • Amelia Quilter says:

    I have three large Rubbermaid tubs of scraps and have decided that I am not going to buy anymore fabric until I use those scraps up! I will only buy fabric for the borders or side triangles. I have 50 blocks made so far. I am now in the process of cutting strips and square for future quilts.

  • Catholic Bibliophagist says:

    This looks like so much fun. Would I be correct in thinking that the strips needn't have perfectly even widths? That is to say, that I could use a strip that was wider at one end than the other?

Leave a Reply