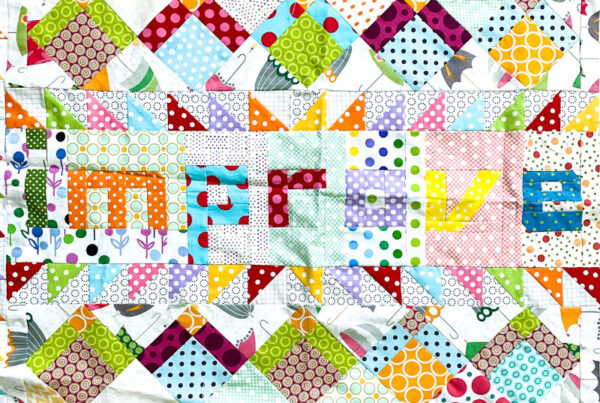
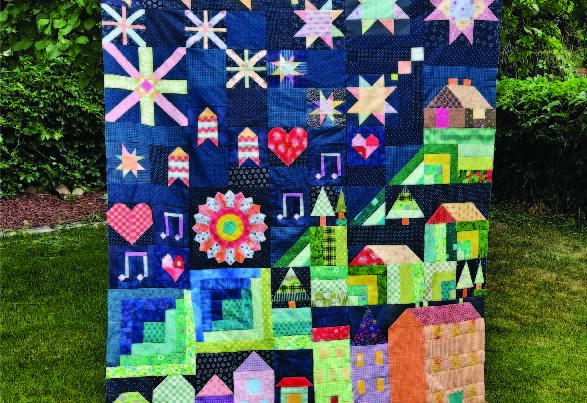
Quilt borders are the finishing touch before sandwiching and quilting your quilt. It is easy to just slap some fabric around the edges and call it good. But where is the fun in that? Creating interesting, pieced quilt borders can add so much more interest to your quilts.
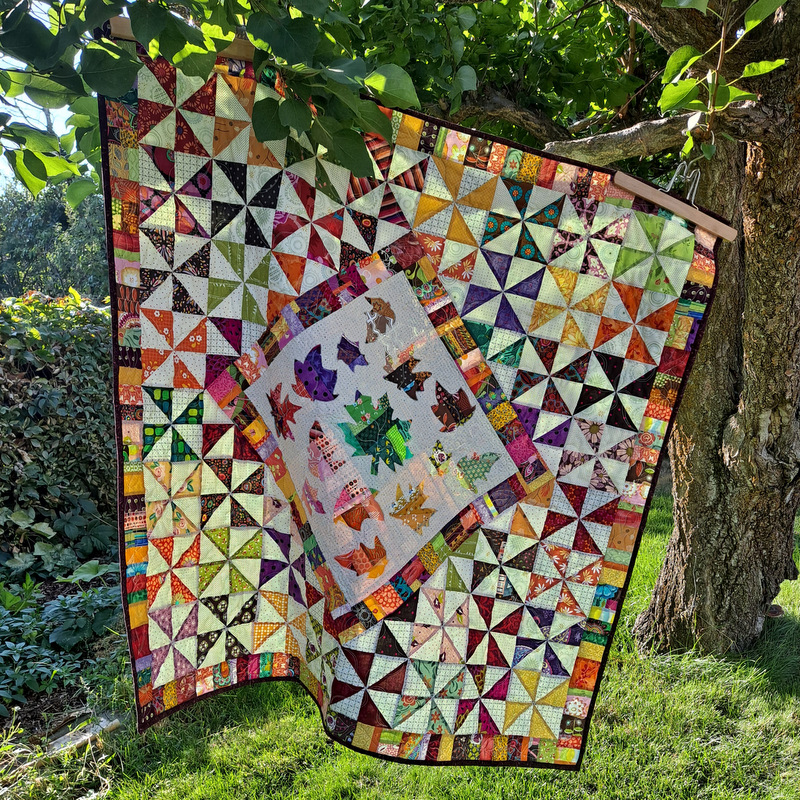
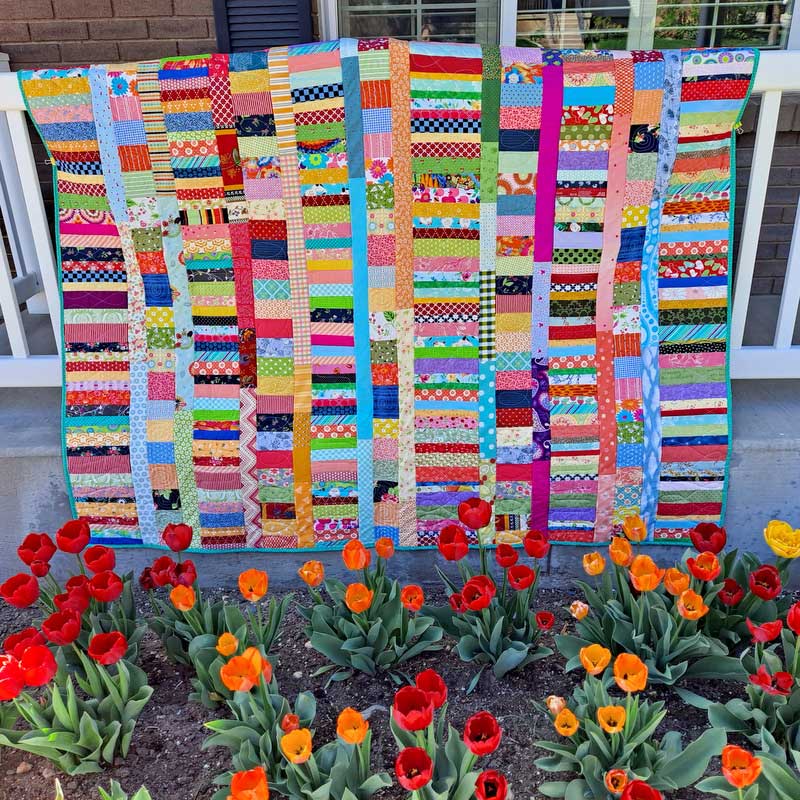
One method I use when adding a pieced border is to make a crumb border. It’s a great way to use up scraps from the top. When using this method I recommend using squares, half square triangles and rectangles. They give the scrappy feel with out a stretch biased edge. I used this method with Blowin’ in the Wind, found in my new Crumb Quilts book. You can also find it on my Bear Scraps Quilt.
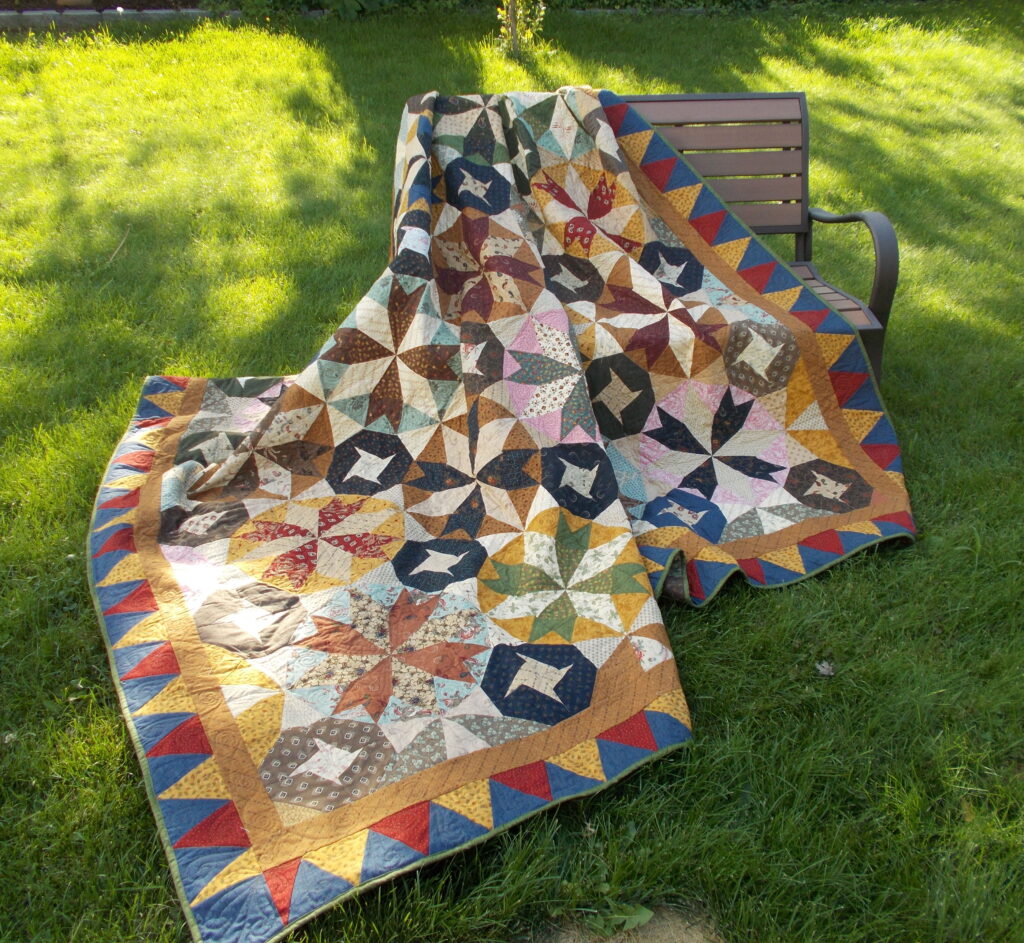
Another way to add interest to your borders is to have them tie into the theme of your quilt. Nautical Nights the same triangle used in the blocks to create a cohesive look. While adding interest to the quilt. My family reunion quilt is bordered with a Dutchmen’s Puzzle block to go with our heritage. Divine carries the drunkard’s path theme used to make the vines into the border.

Medallion quilts are a fun way to play with pieced borders. Mountain Home is an example of a medallion quilt. You can find more examples in this post. I like to add small stop borders to save me having to adjust the size of my blocks. Just measure the sides of your quilt. Divide that by the size of your block. If it’s not a whole number figure what you would need to add to make things fit. Divide that number by two and add 1/2″ for seam allowance. Then add your stop borders to the sides of your quilt.
I hope this post inspires you to get creative with your borders. And say good bye to boring borders.

